Category: Recipe

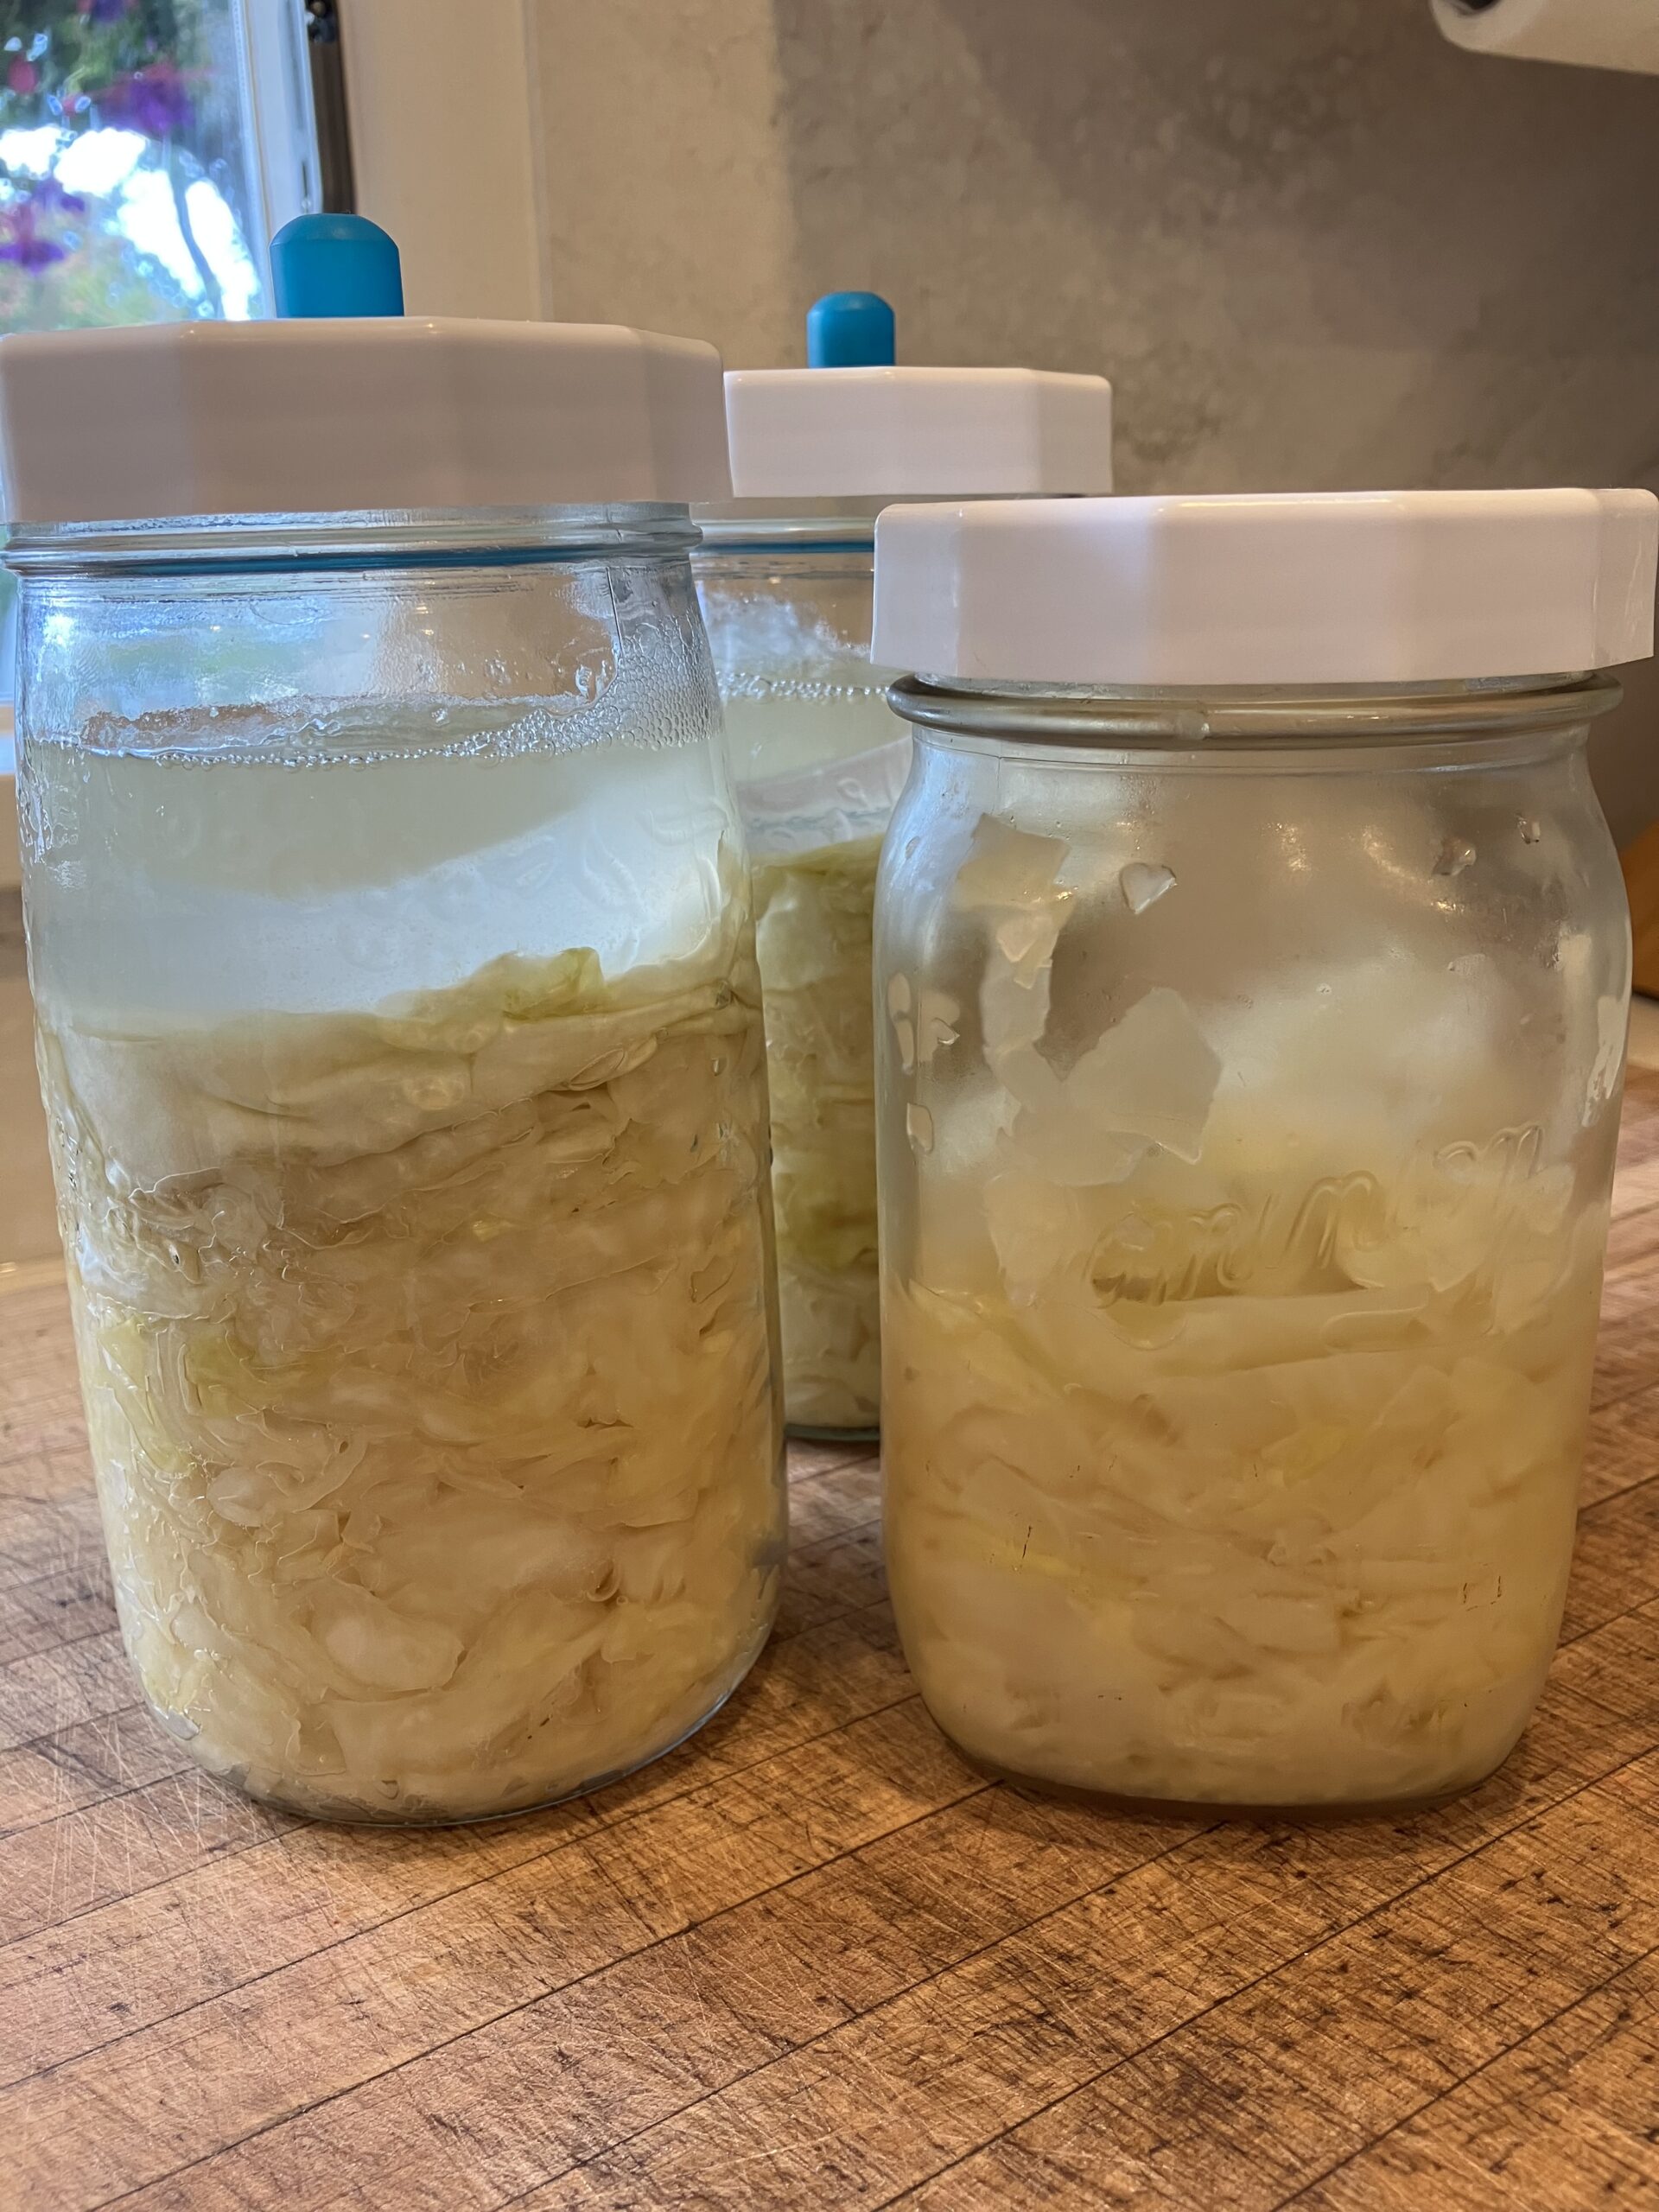
  • Sauerkraut

    Sauerkraut

    Sauerkraut

    Ingredients

    • 1 head green cabbage
    • sea salt

    Instructions

    • Depending on the size of your cabbage, have a couple of mason jars clean and ready to go. Usually, I can get about 1.5 pounds of cabbage into one regular sized jar.
    • Wash the outside of the cabbage. Take off and set aside the main outer leaves. These can be used as part of the weight system; to keep the sauerkraut under the brine.
    • Slice the cabbage. It doesn’t need to be small. If you prefer crunchier sauerkraut, keep it bigger.
    • Place the cabbage in a large bowl and sprinkle with salt. The formula for determining the needed amount of salt is for every 1 pound of cabbage, you’ll need 1.5 teaspoons of salt. So for a medium cabbage head of 3 pounds, you’ll need 4.5 teaspoons of salt.
    • You can start massaging the cabbage with your hands or pounding it right away if you are pressed for time. I typically leave mine for 45 minutes to 1 hour and let the salt do it’s thing for a while. Letting it sit means less massaging or pounding later.
    • Massage or pound until the cabbage becomes watery and limp. This usually takes 5-10 minutes.
    • Tightly pack the cabbage into your mason jar pressing the cabbage down every once in a while so that the brine makes it way to the top.
    • If you saved the outer leaves, top the cabbage with that and then add a weight. You can use a clean stoneware weight, stones or marbles. I purchased a mason fermentation set that includes a weight and a valve which I use all the time. I’d highly recommend you do the same if you plan on making sauerkraut often.
    • Seal the mason jar with a regular canning lid or a fermentation valve. If you don’t have a valve, you will have to “burp” your sauerkraut once a day. (Burping just means opening up the lid and allowing some of the gases to escape. If you don’t do this, your sauerkraut will likely explode!) With the valve, you don’t have to do any of this as the valve will take care of it.
    • When the sauerkraut is fermenting you should see bubbles coming up through the cabbage and eventually foam on top. These are good signs which mean that fermentation is happening.
    • There are no hard rules about how long to ferment your sauerkraut. I usually do somewhere between 5-10 days but I’ve been known to let it go longer.
    • If mold develops on the top, you can skim it off and eat the unaffected portion below.
    • Store the sauerkraut in the fridge. It will keep indefinitely.

    Notes

    You can flavour your sauerkraut by mixing in fresh dill, garlic, caraway seeds, sliced hot peppers, etc. Add the desired flavouring to the bowl of pounded cabbage right before you pack it. My absolute favourite is fresh dill and garlic.
    Make sure you only use sea salt. Iodized salt tends to inhibit the beneficial bacteria.
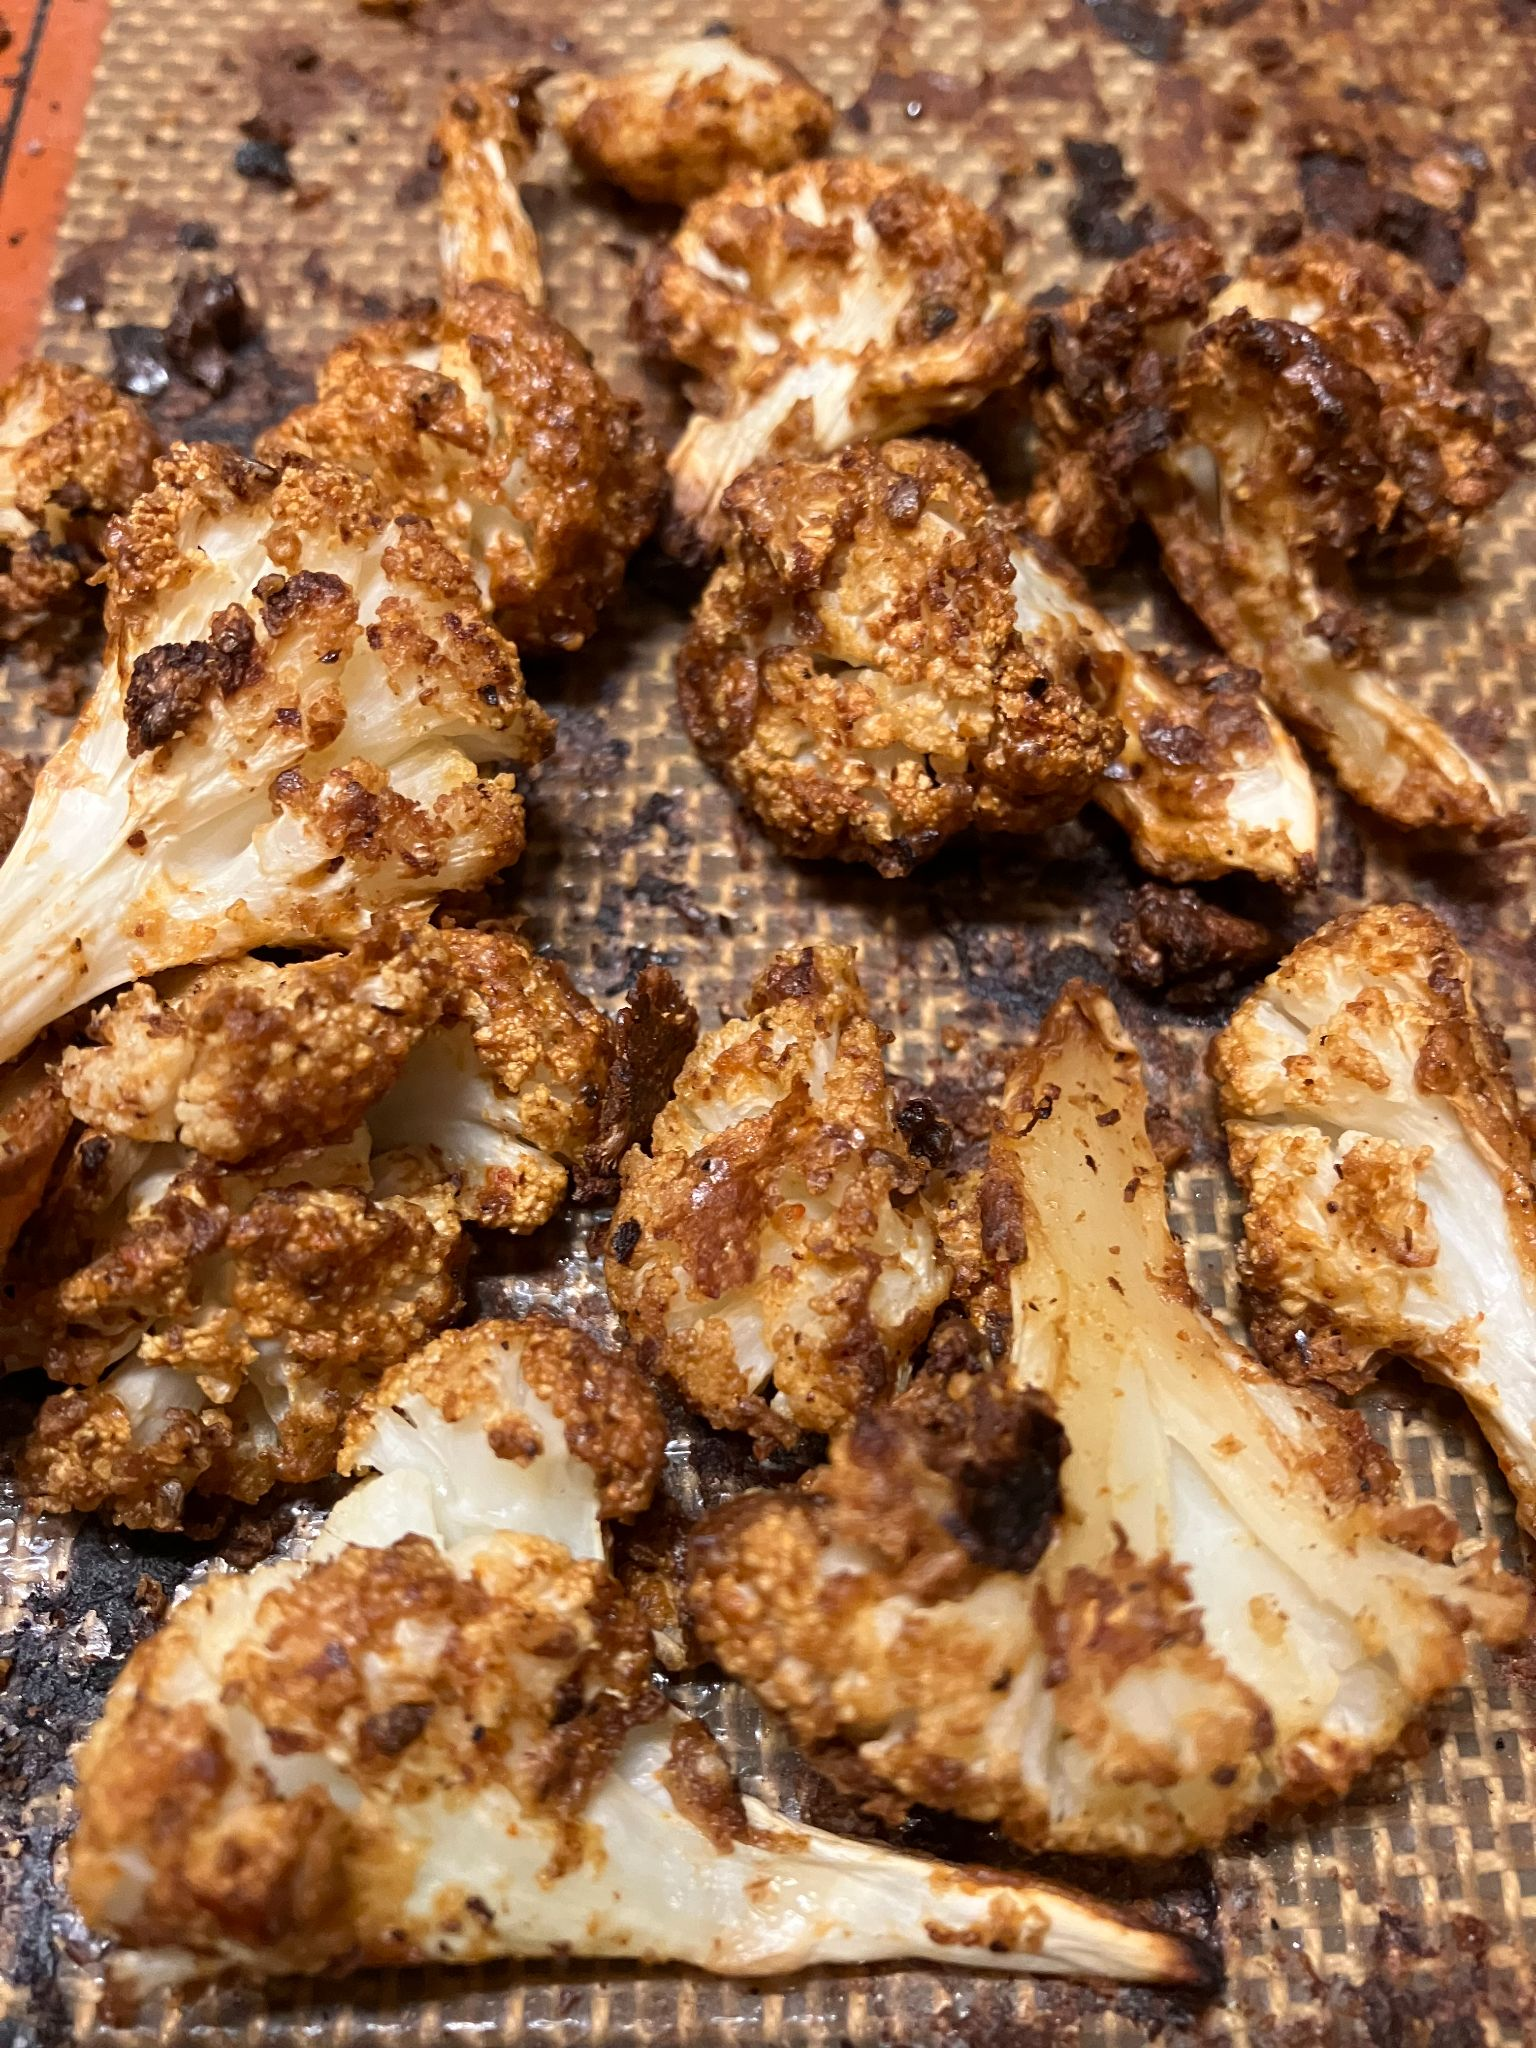
  • Savoury Spiced Roasted Cauliflower

    Savoury Spiced Roasted Cauliflower

    Savoury Spiced Roasted Cauliflower

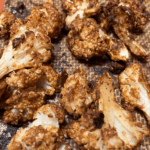
    I think this might be my favourite new recipe of the season! I've been making it almost weekly while cauliflower has been in season and on sale. It's incredibly versatile, and the simple combination of nut butter and applesauce creates a flavourful coating without the need for oil. Sometimes I serve it as a side dish, other times I use it to top a bowl of soup, it's especially delicious on my Butternut Squash Soup. I also love making the Mexican-inspired version and tucking it into tacos with black beans and vegan chipotle aioli. Yum!
    Course Main Course, Side Dish
    Total Time 50 minutes

    Ingredients

    • 1 medium cauliflower cut into small florets
    • 2 tbsp nut butter
    • 2 tbsp applesauce
    • 2 tbsp water
    • 1 tsp ground cumin
    • 1 tsp garam masala
    • ½ tsp coriander
    • ½ tsp cinnamon
    • 1 tsp turmeric
    • ½ tsp ground red chilis optional

    Instructions

    • Preheat the oven to 425°F (400°F convection). Line a baking sheet with parchment paper or a silicone baking mat.
    • In a large bowl, whisk together the nut butter, applesauce, and water until smooth. Add the cumin, garam masala, coriander, cinnamon, turmeric, and optional chili, stirring until well combined.
    • Add the cauliflower florets and toss until evenly coated with the spice mixture.
    • Spread the cauliflower in a single layer on the prepared baking sheet.
    • Roast for 35–40 minutes, stirring halfway through, until the cauliflower is tender and caramelized.

    Notes

    Choose Your Nut Butter
    Cashew butter creates the mildest flavour, while almond or peanut butter add a slightly richer, nuttier taste.
    Boost the Protein
    For a heartier dish, add 1 can (14 oz/398 ml) of chickpeas, drained and rinsed, to the cauliflower before tossing with the spice mixture. Roast everything together for a complete side dish or light meal.
    Try a Different Spice Blend
    Feel free to change the spices depending on your mood. For a Mexican-inspired version, substitute the spices above with:
    • 2 tsp chili powder
    • 1 tsp garlic powder
    • 1 tsp smoked paprika
    • ½ tsp ground chili (optional)
     
    Serving Suggestions
    Serve alongside grain bowls, curries, salads, or tucked into wraps. It also makes a delicious addition to roasted vegetable platters.
    Storage
    Store leftovers in an airtight container in the refrigerator for up to 4 days. Reheat in the oven or air fryer to help restore the crisp edges.
  • Super Easy Mexican Beans

    Super Easy Mexican Beans

    Super Easy Mexican Beans

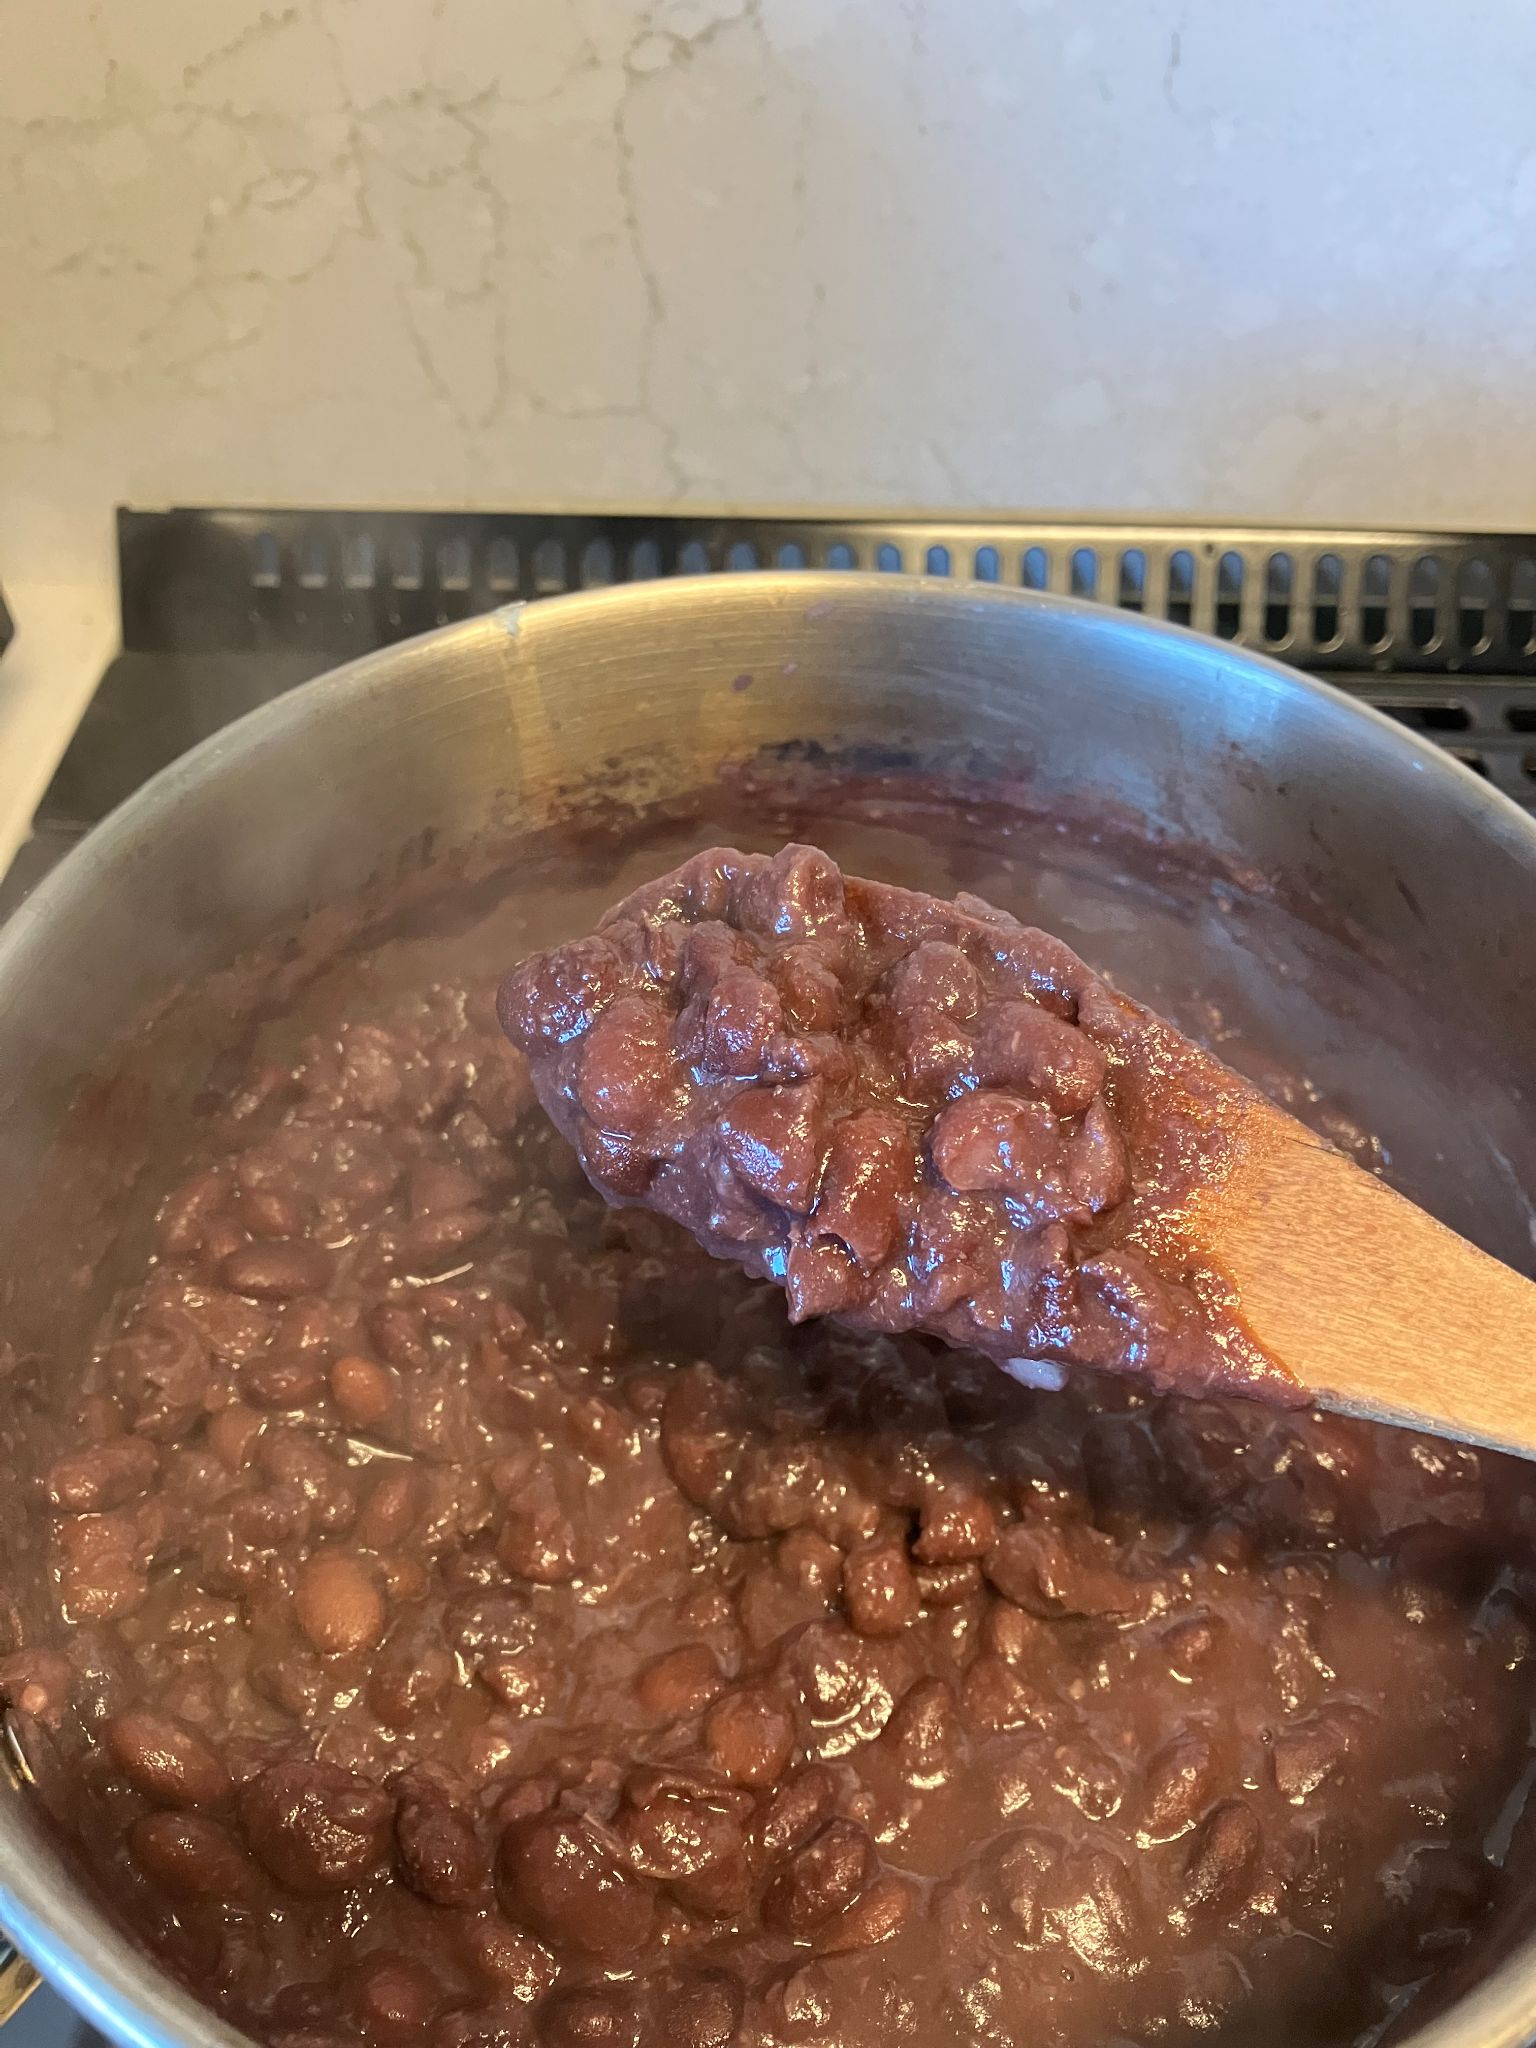
    If you’re looking for a simple, delicious, and nutritious recipe to add to your repertoire, this dish is a must-try! These black beans are perfect as a side dish, a filling for tacos or burritos, or a base for a hearty bowl. Packed with flavour and requiring minimal effort and ingredients, they’re as versatile as they are satisfying. Black beans are a fantastic source of plant-based protein, fibre, iron, and magnesium, making them a powerhouse addition to any diet. Plus, using dried beans is an economical choice that delivers superior taste and texture compared to canned options.
    Servings 4

    Ingredients

    • 1 cup dried black beans
    • 1 onion finely diced
    • 4 garlic cloves gently smashed
    • 2 dried avocado leaves or substitute bay leaves
    • juice from ½ lime
    • pepper and salt to taste

    Instructions

    • Soak the beans overnight. Rinse and drain.
    • In a large pot, combine the black beans, onion, garlic, and avocado leaves (or bay leaves). Cover with 3–4 inches of water.
    • Bring the mixture to a boil over high heat. Reduce the heat to low, stir the beans, and simmer, stirring occasionally, for about 1 ½ hours, until the beans are tender. Add more water as needed if the beans begin to look dry.
    • Remove the avocado or bay leaves. Increase the heat to medium and continue cooking until most of the water has evaporated, leaving the beans surrounded by a rich gravy.
    • Add the lime juice and season with pepper and salt if desired.

    Notes

    Avocado leaves, known as hojas de aguacate, can be purchased at a Mexican market. They add an authentic Mexican flavor to the dish but are not essential if you can’t find them.
    This recipe can also be made in an Instant Pot. For soaked beans, pressure cook for 4–6 minutes. For unsoaked beans, pressure cook for 20–25 minutes. After pressure cooking is complete, quick release the steam and then use the saute function to make the gravy.
  • Tamari Soybeans

    Tamari Soybeans

    Tamari Soybeans

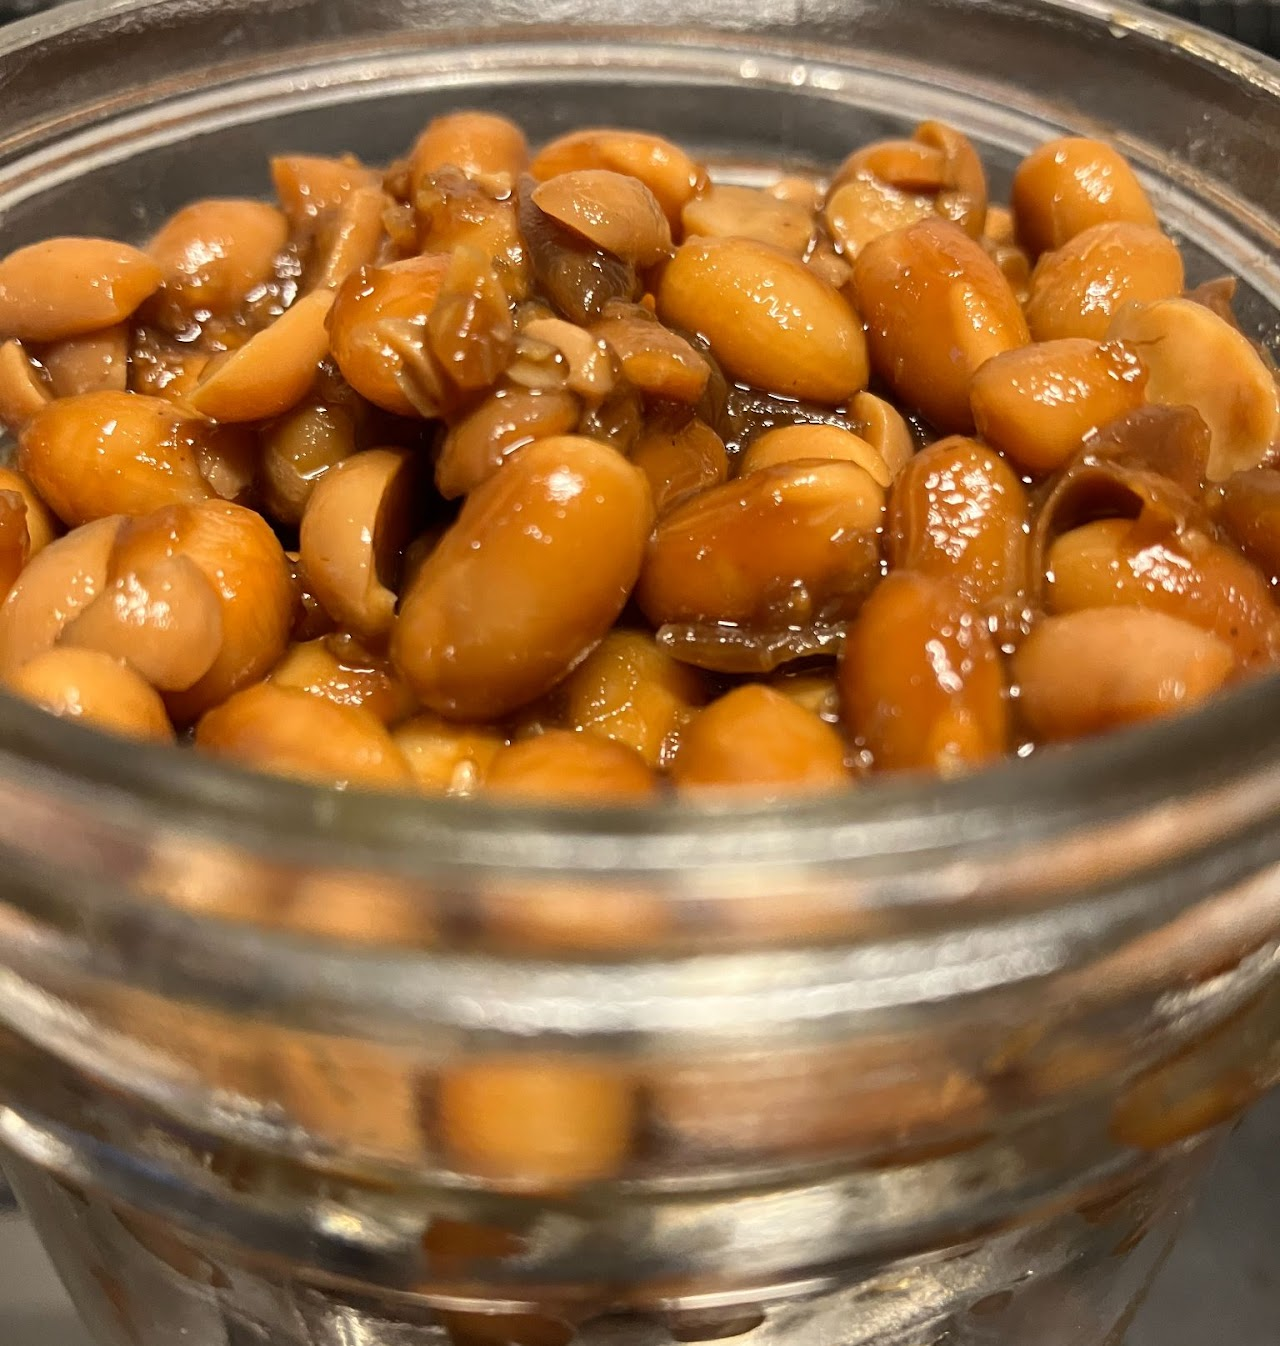
    This recipe is very loosely based on the Korean side dish, Kongjang. They have a great umami flavour and are an excellent addition to stir fries and salads. Dried soybeans can be hard to find but Bulk Barn usually carries them. Soybeans are a great source of high-quality protein and healthy fats as well as important vitamins and minerals. They can be helpful in reducing the severity and frequency of menopausal hot flashes.

    Ingredients

    • 1 cup soybeans soaked in water overnight, rinsed & drained
    • 1/2 cup tamari
    • 4 tablespoons applesauce
    • 4 garlic cloves minced

    Instructions

    • Place the drained soybeans in a medium saucepan and cover with 2-3 inches of fresh water. Bring to a boil.
    • Lower the heat and simmer, uncovered, for 30 minutes. Remove from heat and drain.
    • Return the soybeans to the pot and stir in the tamari, applesauce, and minced garlic.
    • Place the pot over medium heat and bring to a boil.
    • Lower the heat, cover, and cook for 30 minutes, stirring occasionally.
    • Uncover and continue simmering until the sauce thickens, about 5-10 minutes. The beans will remain slightly firm when cooking is complete.
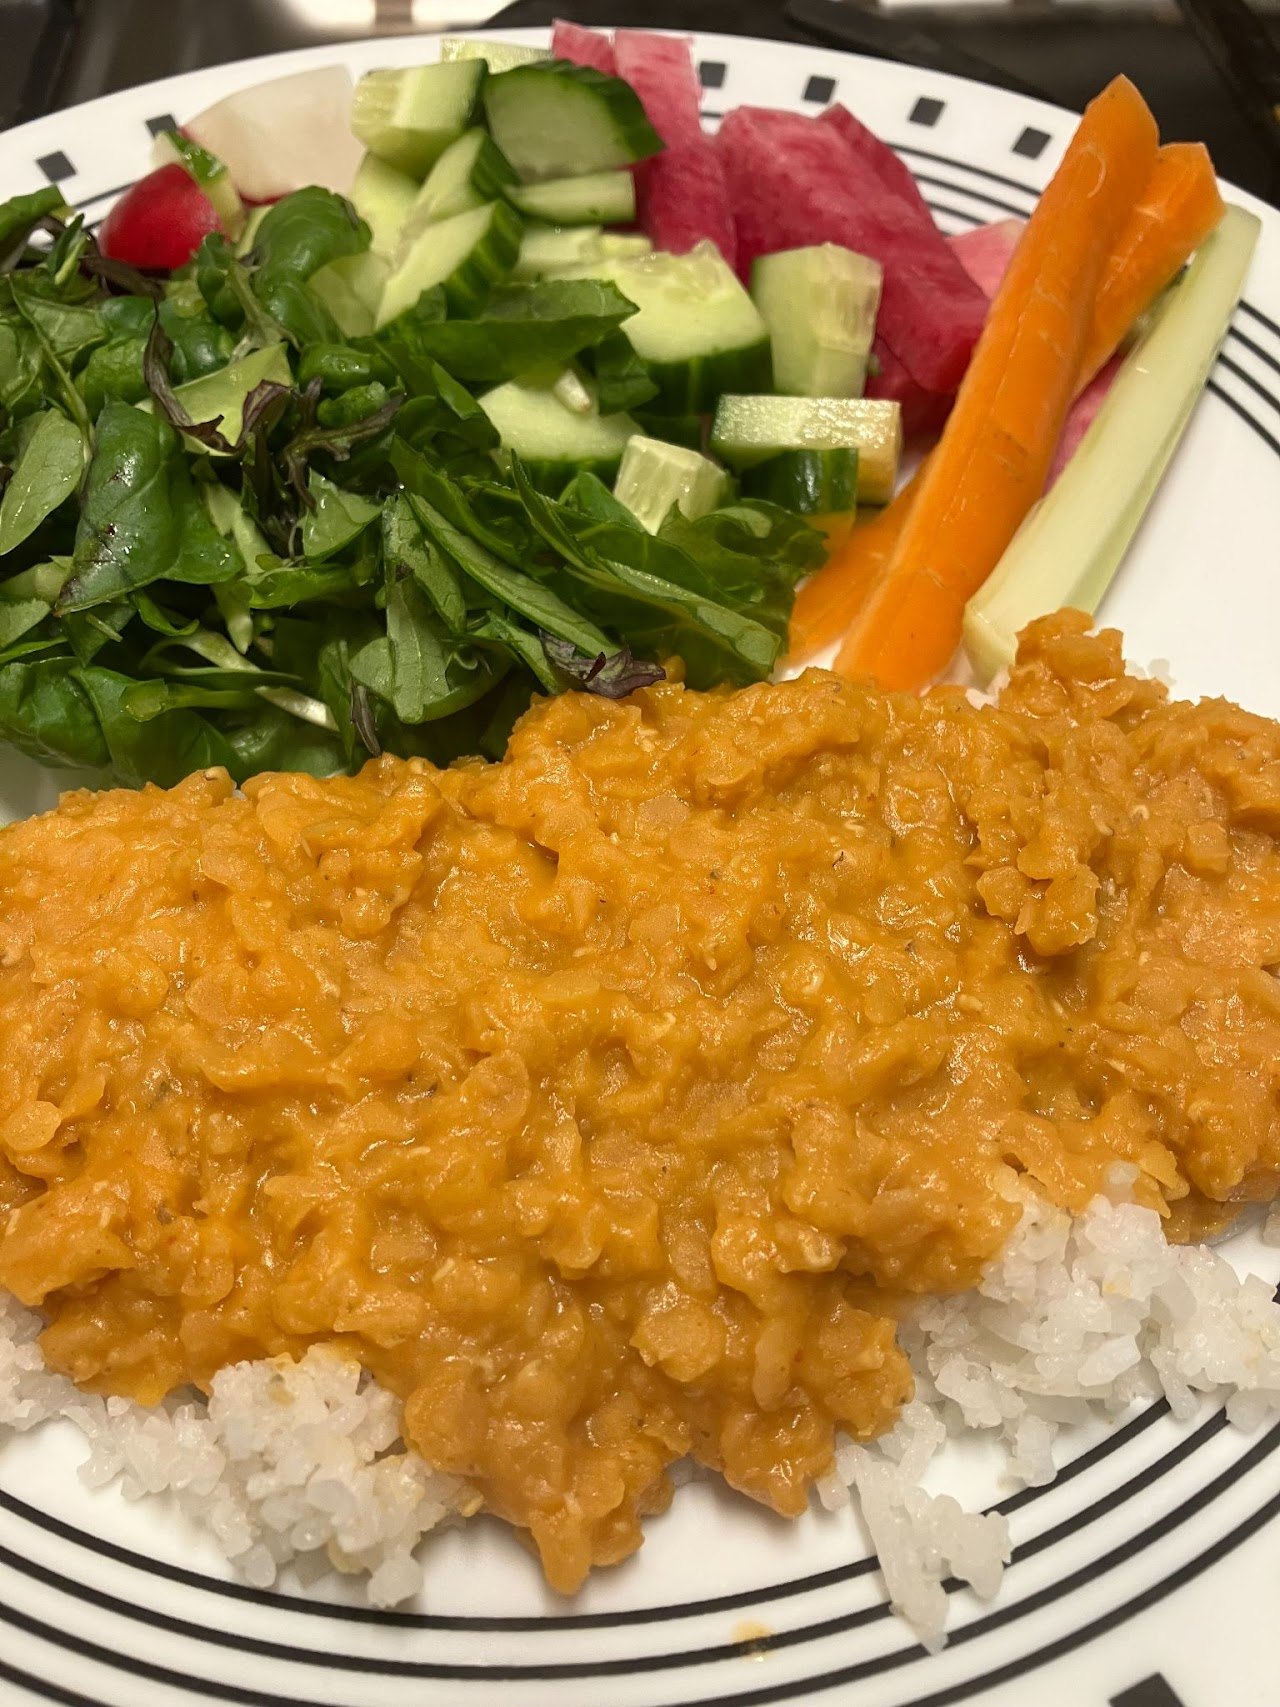
  • Thai Curried Lentils

    Thai Curried Lentils

    Thai Curried Lentils

    Ingredients

    • 2 cup dried red lentils
    • 1 can coconut milk
    • 2 tbsp red or green Thai curry paste
    • 2 cups water

    Instructions

    • In a large saucepan over high heat, combine all ingredients.
    • Stir and bring to a boil. Reduce heat to low, cover and cook for 20 minutes or until lentils are fully softened, adding extra water if needed.

    Notes

    Change up the flavour by switching up the red curry paste for green or yellow.
    Add more curry paste or hot sauce if you want more heat.
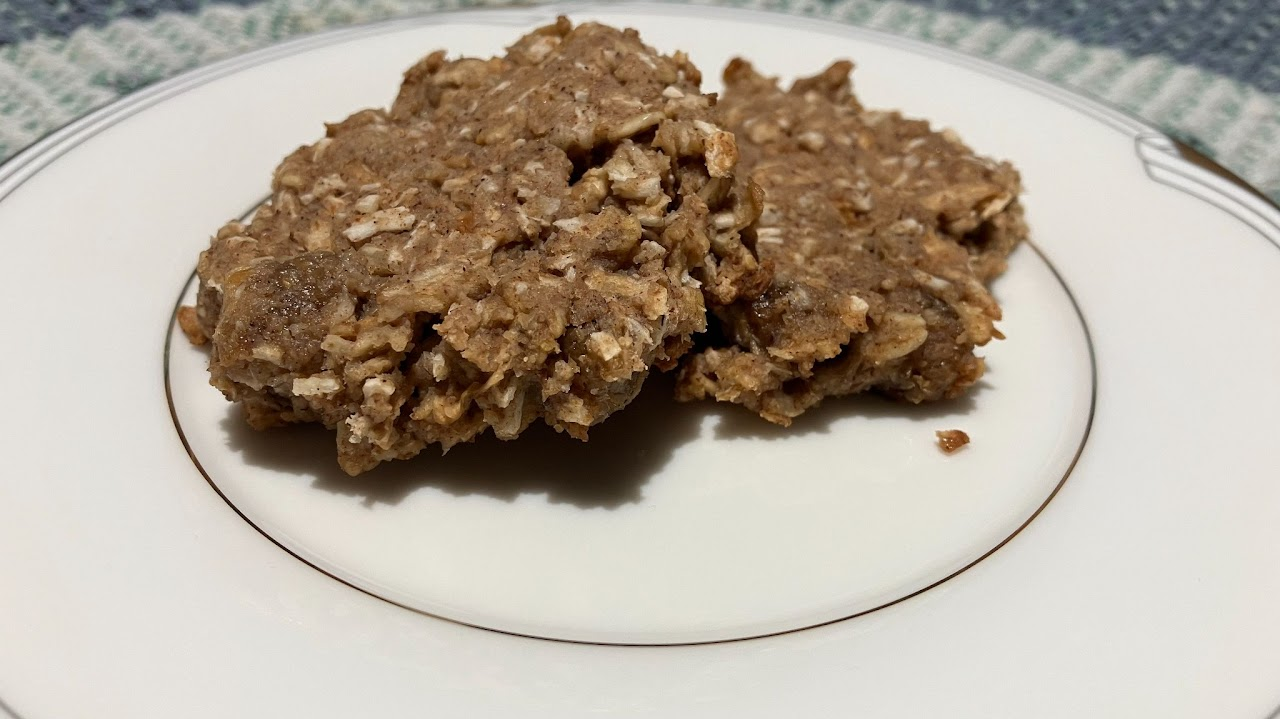
  • Apple Mulberry Breakfast Cookies

    Apple Mulberry Breakfast Cookies

    Apple Mulberry Breakfast Cookies

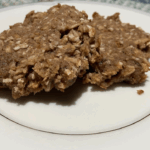
    My neighbour has been bringing me over tons of apples and I’ve been finding creative ways to use them. I really like the way this cookie turned out. It’s a very soft cookie and I love it spread with a little almond butter. The dried mulberries add a burst of sweeteness.

    Ingredients

    • 1/2 cup almond flour
    • 1/2 cup applesauce or maple syrup
    • 1 tbsp ground flaxseed mixed with 3 tbsp water
    • 1/4 cup plant milk
    • 1 tsp vanilla
    • Dry Ingredients
    • 1 cup oat flour
    • 1/2 cup oats
    • 1/2 tsp baking soda
    • 1/2 tsp salt
    • 2 tsp cinnamon
    • 1/2 tsp ground nutmeg
    • 1 cup grated apple
    • 1/2 cup shredded coconut
    • 1/2 cup dried mulberries or dried cranberries, raisins, etc.

    Instructions

    • Preheat oven to 375 degrees and line a baking sheet with parchment paper or a silicone baking mat.
    • Stir ground flaxseed and water together in a small bowl and let sit.
    • Mix almond flour and applesauce together in a large bowl.
    • Add the flax egg, milk, and vanilla. Then add all the dry ingredients and the grated apple. Mix well. Stir in the coconut and mulberries. Let the batter sit for a few minutes to enable the flour to absorb some of the liquid.
    • Drop cookies using two spoons onto baking sheet. Flatten slightly with wet fingers.
    • Bake for 20 minutes or until golden brown and firm to the touch. Let cool completely on the pan before eating.

    Notes

    These freeze well.
    Benefits: Dried mulberries are packed with antioxidants and phytochemicals. They’re a good source of iron and vitamin C and have been associated with decreasing risks of cancer, lowering cholesterol and blood sugar.
  • Apple Cinnamon Muffins

    Apple Cinnamon Muffins

    Apple Cinnamon Muffins

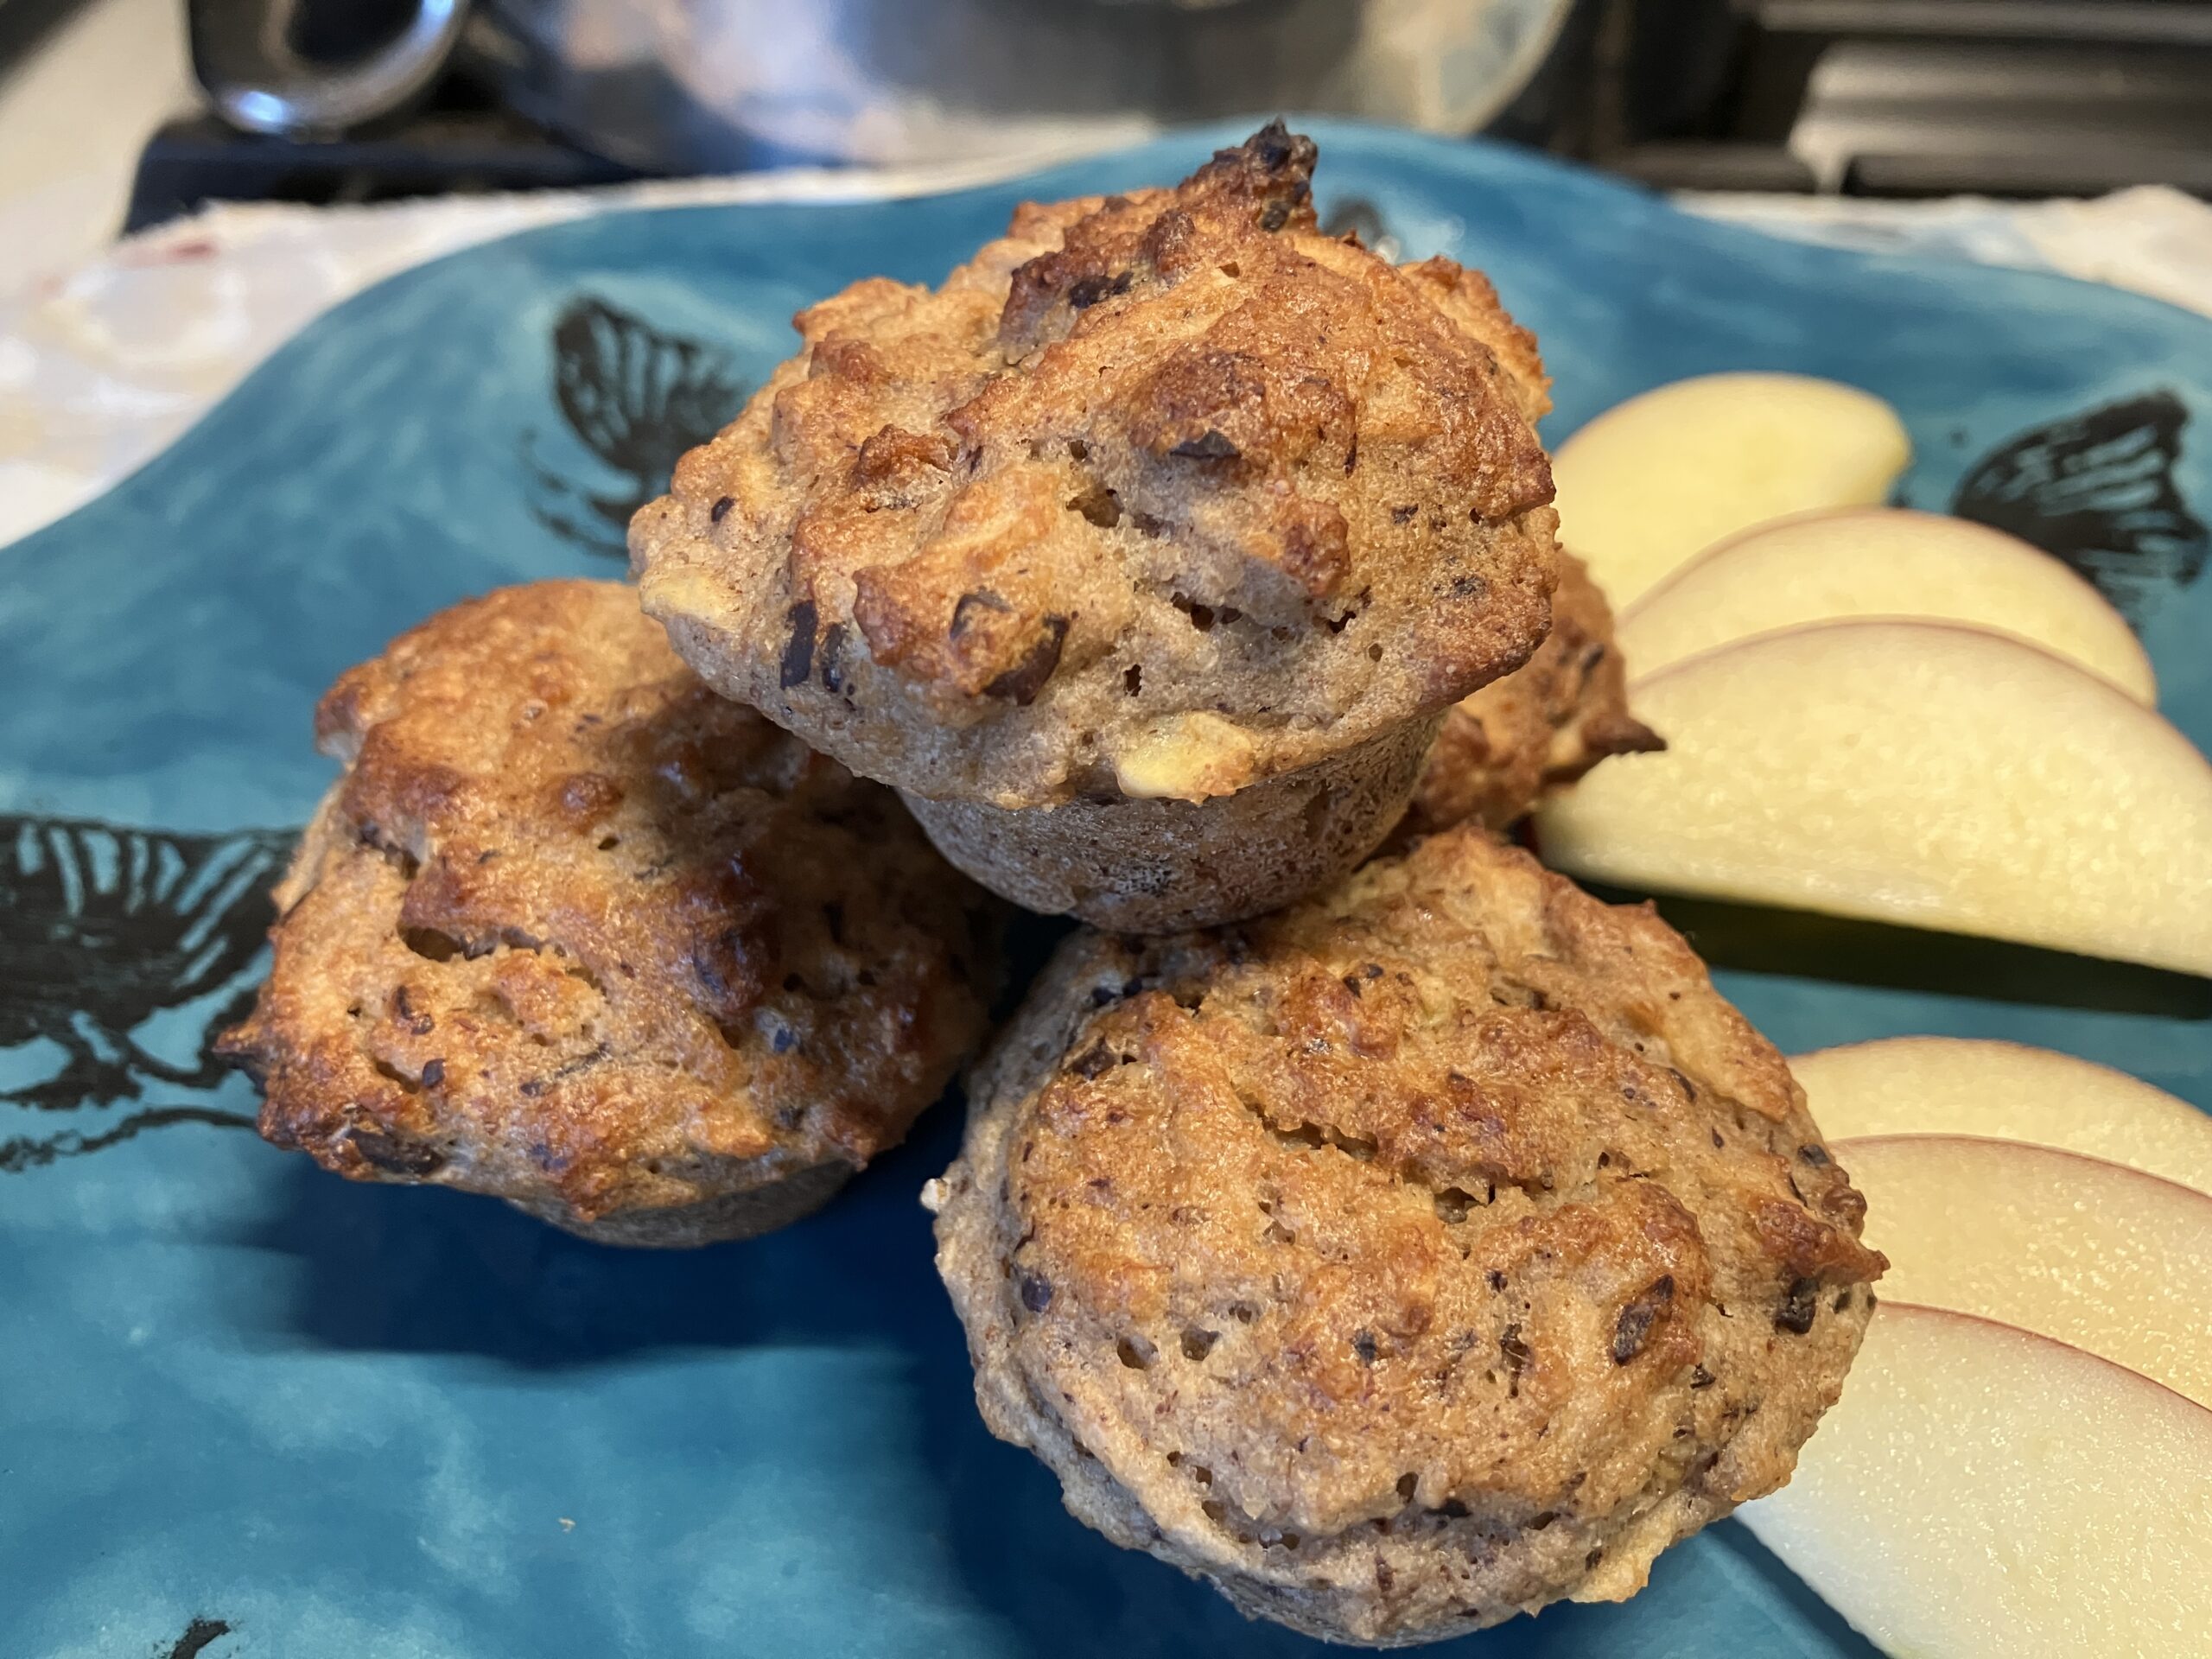
    These apple cinnamon muffins are a simple, wholesome treat that’s perfect for fall. Made with almond and tapioca flour, fresh apple, and naturally sweetened with mashed pear or banana, they’re tender, lightly spiced, and easy to make. I especially love making a batch when apples are plentiful. They’re delicious fresh from the oven and just as handy to pull from the freezer for a quick breakfast or snack.
    Makes 24 small or 12 large muffins
    Course Breakfast, Dessert, Snack
    Total Time 35 minutes

    Ingredients

    • 1 1/4 cup almond flour
    • 3/4 cup tapioca flour or arrowroot
    • 2 tsp cinnamon
    • 1/2 tsp baking soda
    • 2 flax eggs
    • 1 mashed pear or banana
    • 1 tbsp lemon juice
    • 1 tsp vanilla
    • 1 cup grated apple

    Instructions

    • Preheat the oven to 375°F. Line a muffin tin with parchment muffin liners or use a silicone muffin pan.
    • Make the flax eggs. Combine 2 tbsp ground flaxseed with 5 tbsp water. Stir well and set aside for about 10 minutes to thicken.
    • Combine the dry ingredients. In a mixing bowl, whisk together the almond flour, tapioca flour, cinnamon, and baking soda, breaking up any lumps.
    • Combine the wet ingredients. Once the flax eggs have thickened, add them to the mashed pear or banana, lemon juice, and vanilla. Stir until well combined.
    • Make the batter. Pour the wet ingredients into the dry ingredients and stir until just combined. Fold in the grated apple.
    • Fill the muffin tin. Divide the batter evenly among the muffin cups.
    • Bake for about 20 minutes for small muffins or about 28 minutes for large muffins, or until a toothpick or cake tester inserted into the centre comes out clean.
    • Cool. Allow the muffins to cool for a few minutes in the pan before transferring them to a cooling rack.

    Notes

    Small muffins
    I find this recipe works best when made as small muffins. They bake evenly and make a nice-sized snack. If making larger muffins, increase the baking time accordingly.
    Apple
    I recommend using a fresh, juicy apple. There’s no need to squeeze the liquid out of the grated apple, it helps keep the muffins moist.
    Pear or banana
    Both work well in this recipe. Pear has a milder flavour, while banana will add a little more sweetness and a subtle banana flavour.
    Add-ins
    Feel free to add about ½ cup of extra ingredients to jazz things up. Some of my favourite combinations are chocolate chips and goji berries, dried cherries and cacao nibs, or dried mulberries and walnuts. Chopped pecans, pumpkin seeds, raisins or other dried fruit would also work well.
    Storage
    Store the muffins in an airtight container in the refrigerator for up to several days. They can also be frozen for longer storage. Thaw at room temperature or warm gently before serving.
    Freezer-friendly
    These muffins freeze well. I love making batches in the fall when fresh apples are plentiful and freezing them for later. Once completely cooled, store them in a freezer-safe container or bag.
     
  • Almond-Chocolate Truffles

    Almond-Chocolate Truffles

    Almond-Chocolate Truffles

    Course Dessert
    Servings 24

    Ingredients

    • 1/3 cup chopped and pitted soft dates If your dates are not soft, soak them in hot water for 20 minutes; then drain and pat dry before using.
    • 1/3 cup raw cashews soaked in hot water for 3 hours and then drained
    • 3 tablespoons almond butter
    • 1/2 cup unsweetened cocoa powder
    • 1/4 cup date sugar
    • 1 teaspoon vanilla extract
    • Ground almonds for coating or I used cocoa instead

    Instructions

    • Combine the dates and cashews in a food processor and process to a paste. Add the almond butter and process to combine. Add the cocoa powder, date sugar, vanilla and 1 teaspoon of water. Pulse until well combined.
    • Pinch some of the mixture between your fingers to see whether it holds together. If it’s too dry, add a little more water, 1 teaspoon at a time, until the mixture can be shaped into balls. If the mixture is too soft, refrigerate it for 20 minutes or longer to firm up. If it’s still too soft, add a little more cocoa powder, 1 teaspoon at a time.
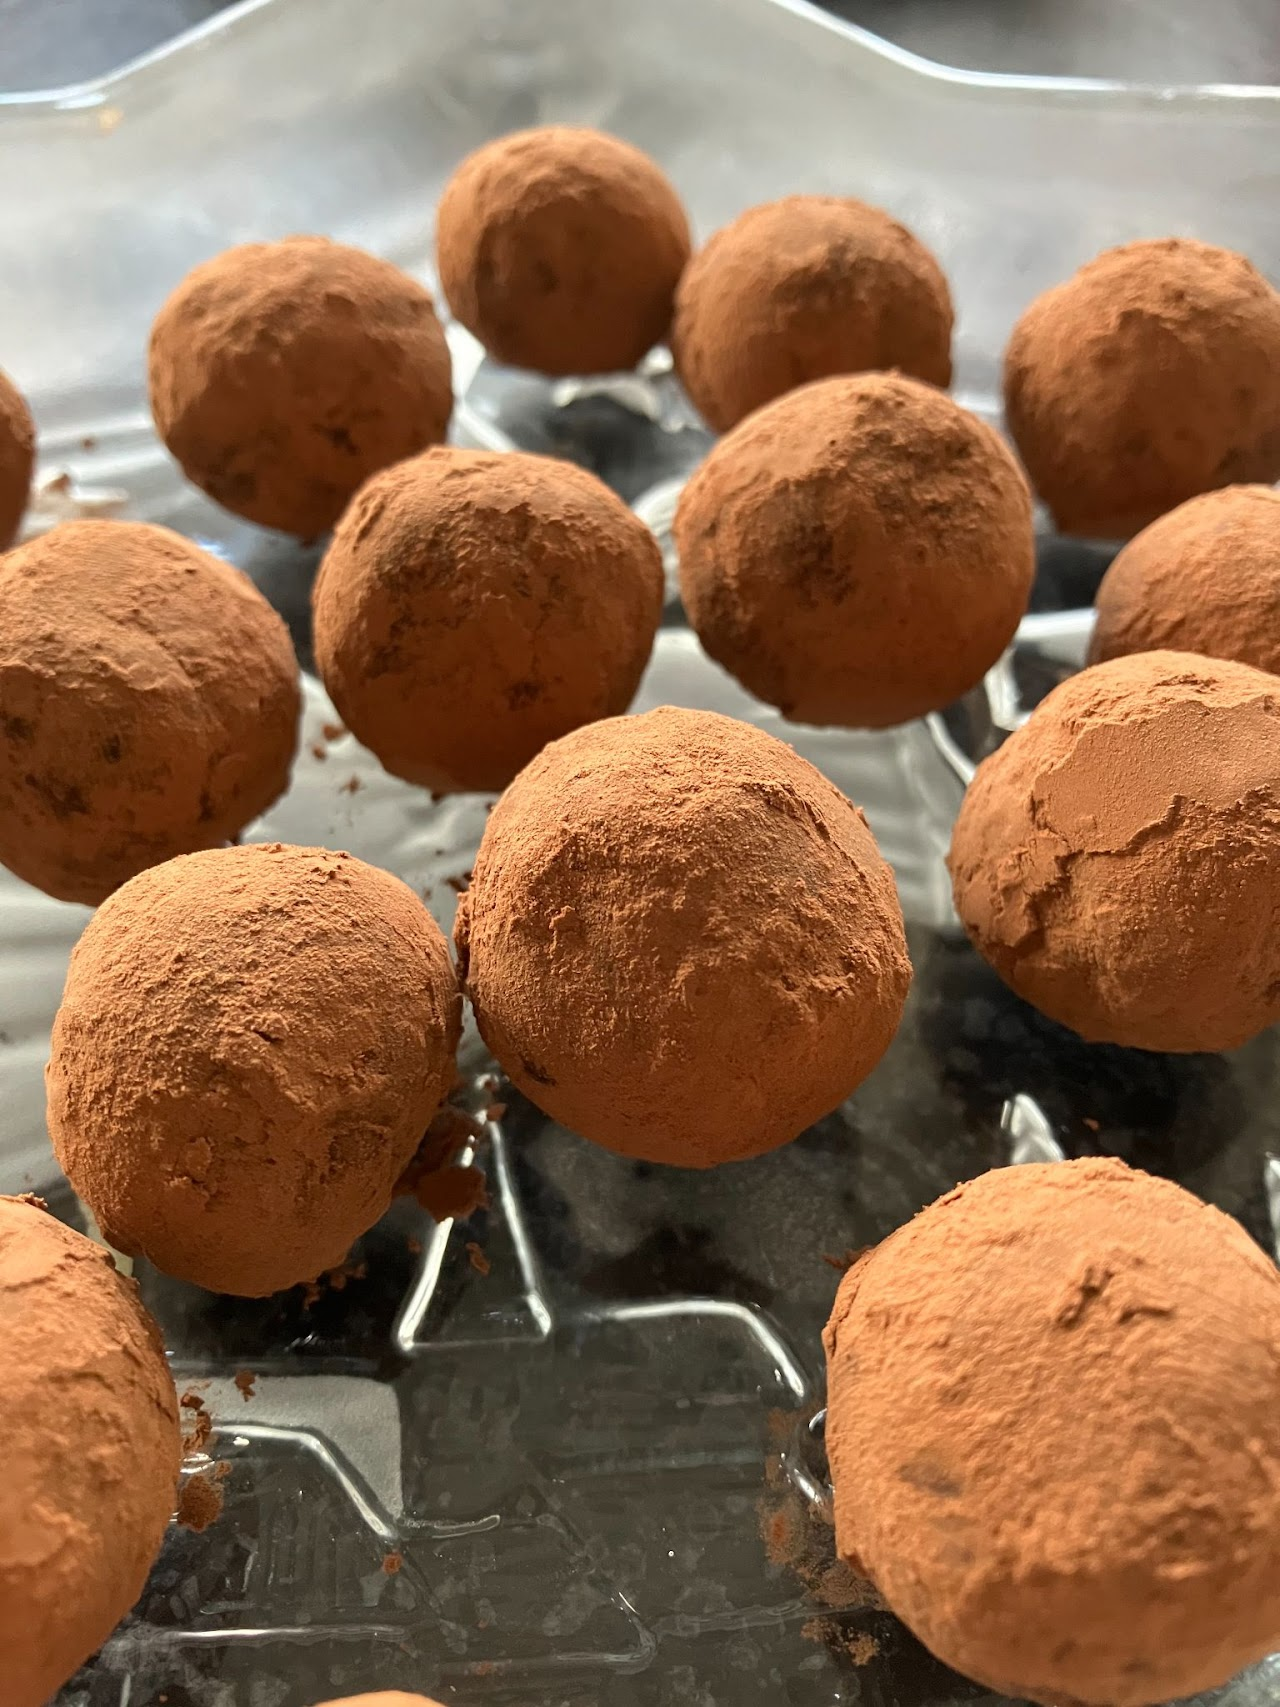
    • Use your hands to shape and roll a small amount of the mixture into a 1-inch ball and transfer to a plate. Repeat until all the mixture has been rolled into balls.
    • Place the ground almonds (or cocoa) in a shallow bowl. Roll the truffles in the almonds until they’re coated, pressing on them if needed to cover completely. Transfer the coated truffles to a plate and refrigerate until firm before serving.

    Notes

    Recipe taken from the “How Not to Die Cookbook” by Michael Greger.
  • Recipe:  Double Chocolate Cookies

    Recipe: Double Chocolate Cookies


    I realize this one is a bit different as the base is made with kidney beans.  The recipe came about because I had a cup of beans which needed to be used up and I also felt like something sweet not savoury.  Over the past few months, I’ve been tweaking things and this is the final result.  It’s surprisingly good!

    Double Chocolate Cookies

    Makes 24 cookies

    Ingredients

    1 cup kidney beans

    1 cup dates (softened in hot water for 10 minutes if hard)

    1 large banana

    3 tbsp ground flax seeds

    3 tbsp hemp hearts

    1/3 cup cacao (or cocoa)

    1/2 quinoa flour 

    1/3 cup chocolate chips (or sub chopped nuts, goji berries, cacao nibs, etc.)

    Instructions

    Preheat oven to 350 degrees and line a baking sheet with parchment paper or a silicone baking mat.

    Using a food processor, combine the kidney beans and dates together and blend until fairly uniform, scraping down the sides as needed.

    Add the banana and process until smooth.

    Next, add in the flax seeds and hemp hearts, blend well.

    Pulse in the cacao powder.

    Remove the bowl from the machine and stir in the chocolate chips.

    Drop cookies using two teaspoons onto baking sheet. Flatten in a crisscross pattern using a damp fork.

    Bake for 9-10 minutes.

    Tip: To vary the sweeten of this recipe, try different dates.  I used sayer dates but medjool dates would yield a sweeter cookie.  

    Benefits:  This cookie is a good source of fibre and contains iron and protein along with healthy fats.  

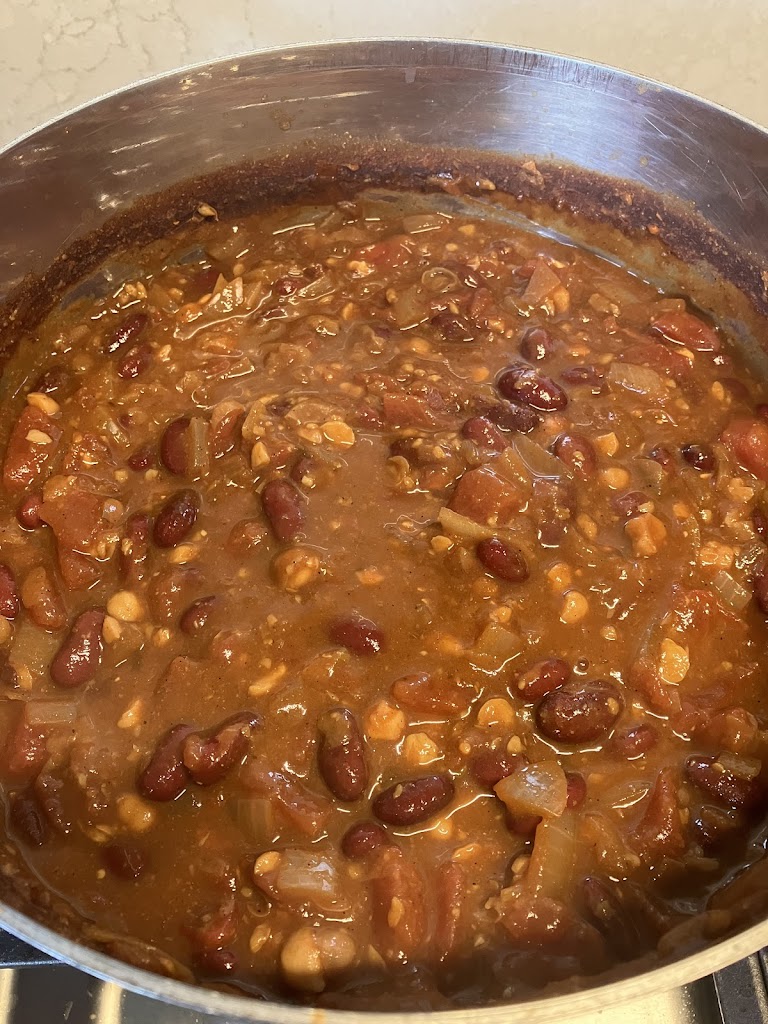
  • Recipe: Vegan Bean Chili

    Recipe: Vegan Bean Chili


    Made a big pot of bean chili mostly following this recipe on @seriouseats

    My modifications were: I water sautéed the onions instead of using oil, switched the soy sauce for tamari and used miso instead of the marmite.