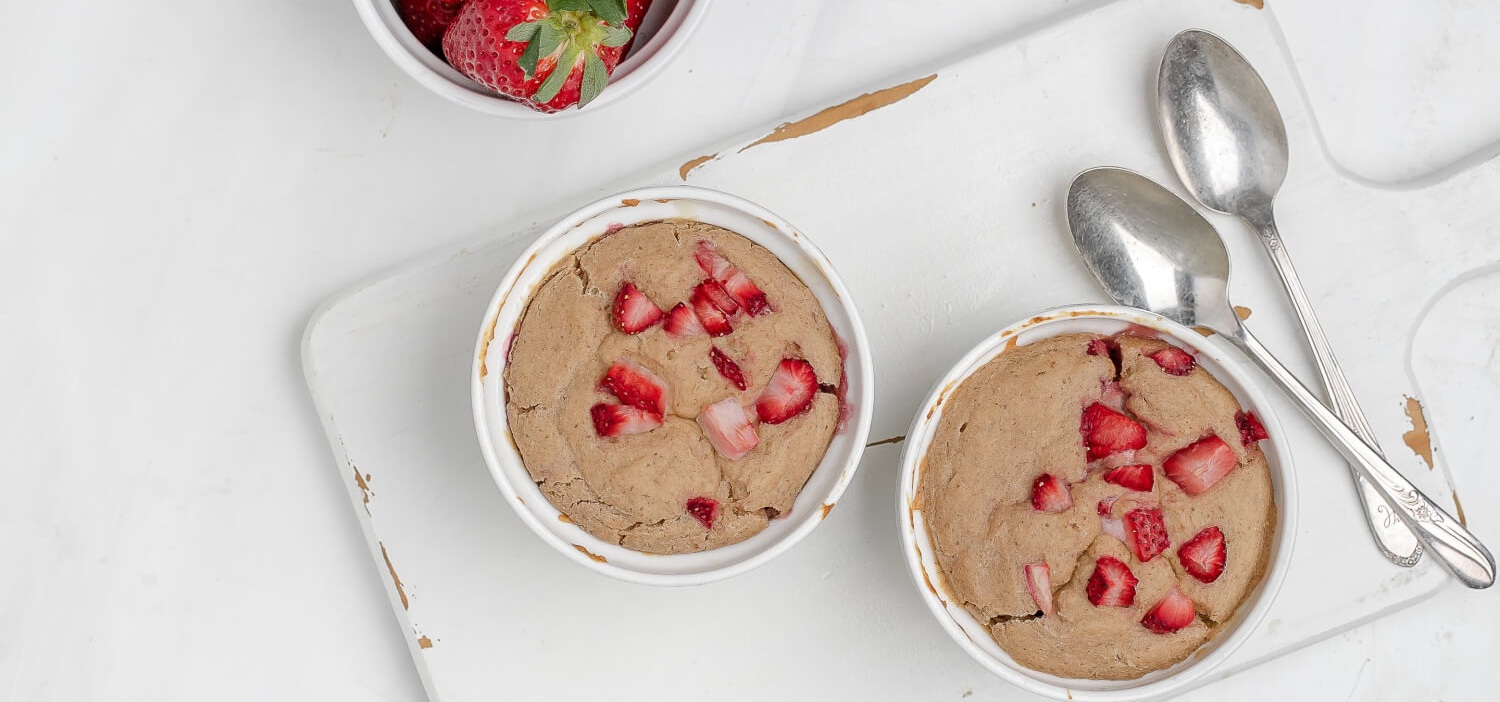
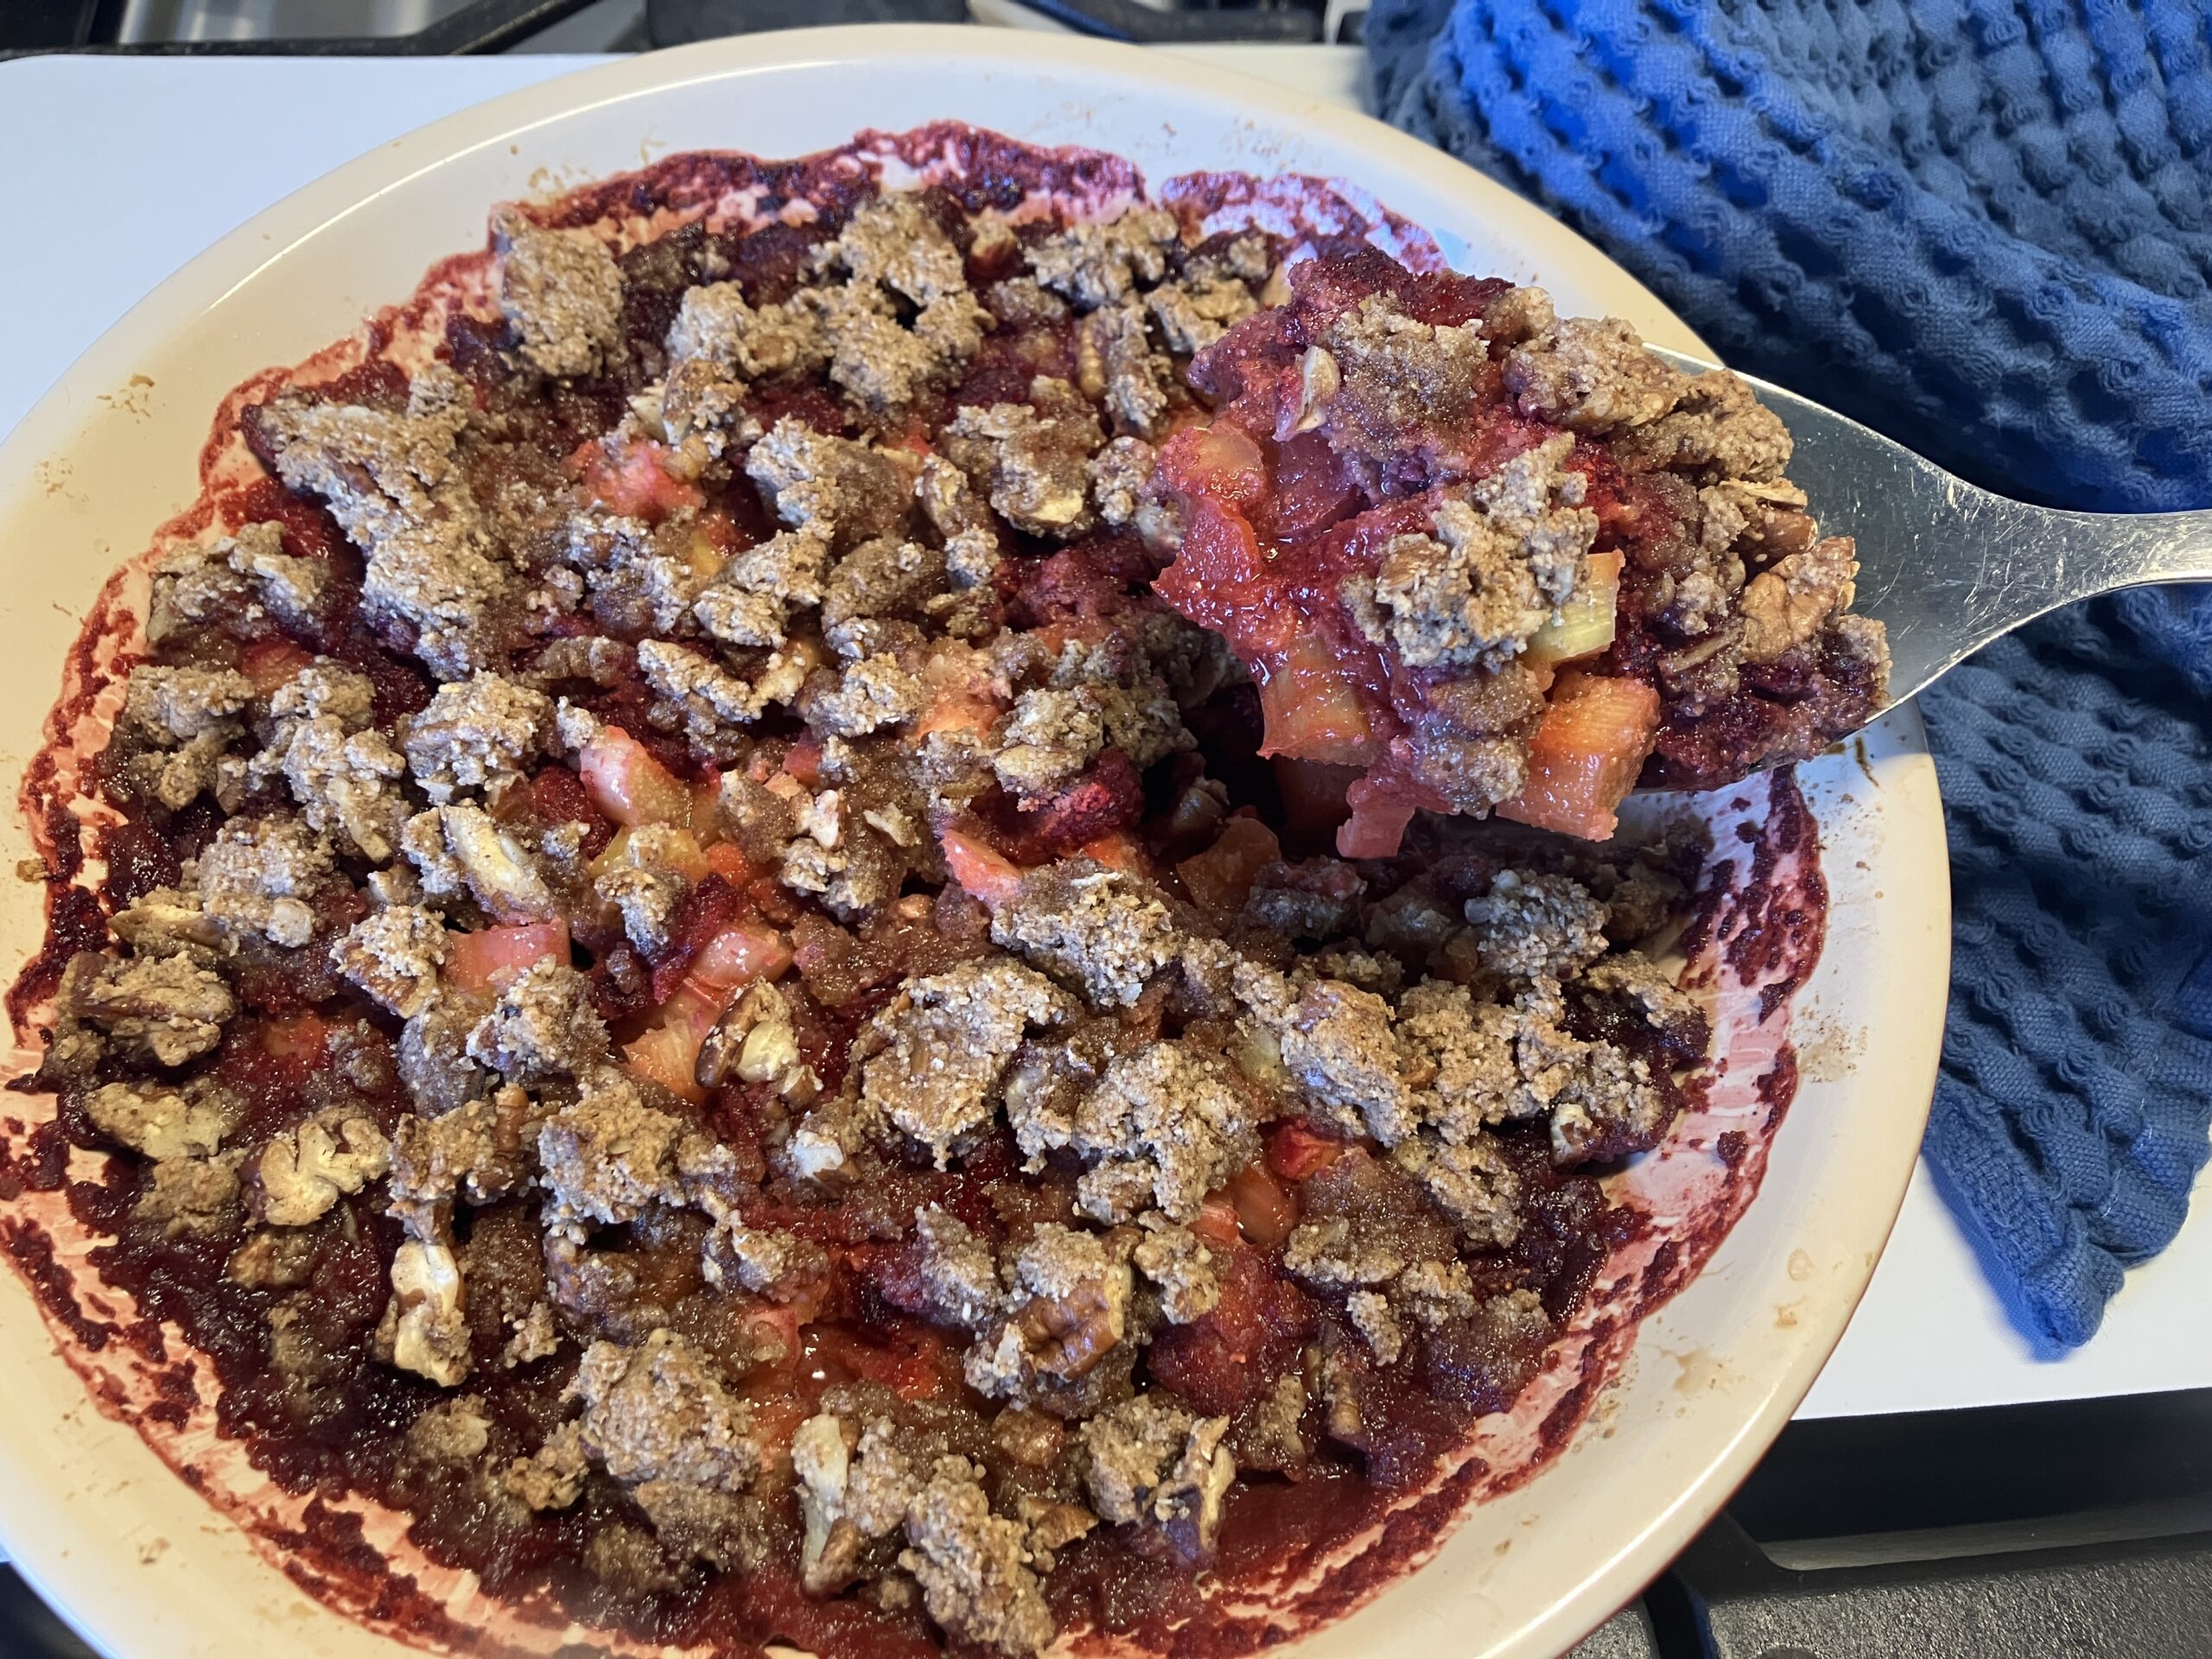
This sweet Dijon garden salad is a simple, fresh dish that comes together in minutes using wholesome, everyday ingredients. It highlights crisp local produce with a naturally sweet and tangy dressing, making it an easy go-to for a light meal or side.
Course Salad
Total Time 10 minutesminutes
Servings 4
Ingredients
1/4cupUnsweetened Applesauce
2tbspsApple Cider Vinegar
1 1/2tbspsMaple Syrup
1tbspDijon Mustard
1tbspWater
1/4tspSea Salt
1Garlic Cloveminced
8leavesRomainechopped
1/2Cucumberchopped
1cupCherry Tomatoeshalved
Instructions
Add the applesauce, apple cider vinegar, maple syrup, dijon mustard, water, salt, and garlic to a jar. Cover and shake well.
Divide the romaine, cucumber, and tomato between bowls. Top with the dressing and enjoy!
Notes
Make it local This recipe is perfect for using seasonal, locally grown vegetables, swap in whatever greens or produce you have on hand, like arugula, spinach, or shredded carrots.Dressing tip For a smoother, more emulsified dressing, blend the ingredients instead of shaking, especially if your applesauce is on the thicker side.Add protein Turn this into a more filling meal by adding chickpeas, lentils, or toasted seeds like pumpkin or sunflower.Flavour boost If you like a bit more punch, add a pinch of black pepper or a squeeze of fresh lemon juice to brighten the dressing.
These simple peanut butter cup oat bars are inspired by the clean-label snack bars from The Oat Company. Made with just a handful of wholesome ingredients, dates, oats, peanuts, peanut butter, and chocolate, they’re naturally sweetened, satisfying, and easy to prepare at home. They make a great grab-and-go snack or lunchbox addition.
Course Dessert, Snack
Total Time 15 minutesminutes
Servings 16
Equipment
1 Food Processor
Ingredients
1½cupspitted dates
1½cupsrolled oats
½cupnatural peanut butter
⅓cuppeanuts
⅓cupchocolate chips
1-2tbsp waterif needed
Instructions
Add the pitted dates to a food processor and process until they break down into a sticky paste.
Add the oats and peanut butter to the food processor. Process until the mixture comes together into a thick, slightly sticky dough.
Add the peanuts and pulse a few times, just until they are roughly chopped and incorporated. You want some pieces to remain for texture.
If the mixture seems too dry to hold together, add 1–2 tablespoons of water, pulsing briefly until the mixture sticks together when pressed.
Transfer the mixture to a bowl and stir in the chocolate chips.
Line an 8 × 8 inch pan with parchment paper. Press the mixture firmly and evenly into the pan.
Refrigerate until firm, about 1 hour. Lift out using the parchment and cut into 16 bars.
Notes
Soft dates work bestIf your dates are dry or firm, soak them in hot water for 5–10 minutes, then drain well before processing. This helps them blend smoothly and bind the bars.Press firmlyUse the back of a spoon or the bottom of a glass to press the mixture firmly into the pan so the bars hold together when sliced.Naturally sweetenedThese bars are sweetened with whole dates, which provide natural sweetness along with fibre and minerals such as potassium. Unlike many packaged snack bars that rely on syrups or added sugars, the sweetness here comes from the whole fruit.Fibre and lasting energyThe combination of oats, dates, and peanuts provides fibre, healthy fats, and complex carbohydrates. This balance can help support steady energy and keep you feeling satisfied longer than snacks made primarily with refined ingredients.Simple, recognizable ingredientsWith just a handful of ingredients you likely already have in your pantry, these bars are an easy example of how simple whole foods can replace many ultra-processed snack options.StorageStore in an airtight container in the refrigerator for up to 1 week, or freeze for longer storage.
This chocolate bar is a simple, whole-food treat made with just a handful of nourishing ingredients. Rich cacao, naturally sweet date paste, and crunchy toasted nuts come together for a satisfying no-bake snack with no refined sugar. Easy to customize with your favourite nuts or mix-ins, it’s a delicious option for a wholesome dessert or energizing bite.
Total Time 1 hourhour30 minutesminutes
Servings 16
Ingredients
1cupCacao Butter
1cupCacao Powder
1cupDate Paste
1tspVanilla Extractor powder
1cupMixed Nutstoasted and coarsely chopped
Instructions
Line a rimmed baking sheet with parchment paper and set aside.
In a small saucepan over low heat, melt the cacao butter, stirring occasionally, about 3 minutes.
Remove from heat and whisk in the cacao powder, date paste, and vanilla until completely smooth and no clumps remain. Stir in the mixed nuts.
Using a rubber spatula, scrape the mixture onto the prepared baking sheet and spread into a square to your desired thickness.
Chill in the refrigerator for 1 hour, or until firm.
Cut into desired pieces. Store in an airtight container in the refrigerator for up to one month.
Notes
Toasting the nutsToasting enhances flavour and adds extra crunch. Spread nuts in a single layer on a baking sheet and bake at 350°F (175°C) for 8–12 minutes, stirring halfway, until fragrant and lightly golden. Let cool before chopping and adding to the mixture.What nuts to useUse any nuts you enjoy. For this recipe, a mix of cashews, almonds, and pecans provides a balance of creaminess and crunch. Walnuts, hazelnuts, peanuts, or pistachios also work well.Try other mix-insYou can replace some or all of the nuts with other crunchy ingredients like puffed rice or puffed quinoa for a lighter texture. Unsweetened shredded coconut, pumpkin seeds, or sunflower seeds are also good options.Date pasteYou can easily make your own by blending 1 cup pitted Medjool dates with ½ cup warm water until smooth, adding more water as needed to reach a thick, spreadable consistency.Cacao vs. cocoaCacao powder is typically less processed and retains more of its natural antioxidants, giving a richer, slightly more bitter chocolate flavour. Cocoa powder is more processed and has a milder taste. Either can be used in this recipe.
These no-bake dark chocolate turtles are a naturally sweet twist on a classic treat. Chewy dates take the place of caramel, pecans add that signature crunch, and a rich dark chocolate coating brings it all together. With just a handful of simple ingredients, they’re easy to make and perfect for when you want something a little decadent without a lot of fuss. Keep a batch in the fridge or freezer for an anytime treat. A healthier dessert option that still feels totally indulgent.
Course Dessert, Snack
Total Time 30 minutesminutes
Servings 16
Ingredients
1cupPitted Datessoaked for 10 minutes then drained
1tspVanilla Extract
16Pecanswhole or halves
6ozsDark Chocolate
Instructions
Finely chop the dates or blend in a food processor until sticky.
With damp hands, roll the dates into small even balls. Press the balls onto a pan lined with parchment paper, and top with pecans, pressing down slightly so that they stick. Freeze for 10 minutes.
Meanwhile, microwave the chocolate at 50% power for 30 seconds at a time until melted.
Using a fork, suspend the frozen dates into the chocolate until fully covered. Remove and let the excess chocolate drip off. Return to the parchment-lined pan and repeat until each date ball is coated with the chocolate.
Return to freezer for 10 more minutes to set. Transfer to the fridge until ready to enjoy.
Notes
No PecansUse hazelnuts, almonds, cashews or pumpkin seeds instead.No DatesUse a combination of prunes, dried apricots or raisins instead.
For extra flavour
Lightly toast the pecans before topping the date ball although keeping them raw preserves more of their nutrients.StorageRefrigerate or freeze in an airtight container until ready to serve.No MicrowaveMelt the chocolate in a double boiler instead.Serving SizeOne serving is equal to one dark chocolate turtle.
This creamy hummus gets a flavour boost from miso, adding subtle umami depth while keeping things simple and nourishing. It’s smooth, versatile, and easy to customize, perfect for dipping, spreading, or adding to bowls and wraps.
Course Appetizer, Main Course, Snack
Cuisine Mediterranean
Total Time 10 minutesminutes
Servings 6
Ingredients
1 1/ 2cupsChickpeascooked
2clovesGarlicminced
2tbspsLemon Juice
1tspMiso Paste
1/4cupTahini
1/2tspCumin
1/2tspSmoked Paprika
1/2tspTurmeric
1/4cupWater
Instructions
Add the chickpeas to a food processor and blend until they form a thick, even puree.
Add the garlic, lemon juice, miso, tahini, and spices.
Turn the processor on high and slowly drizzle in the cold water. Keep blending until the hummus is ultra-smooth and creamy, this may take a minute or two.
Taste and adjust with more lemon juice or a small pinch of salt.
Serve immediately or store in the fridge for later.
Notes
Don’t have smoked paprika?Regular paprika works fine; add a tiny dash of liquid smoke if you want the smoky vibe.Make it spicyAdd a pinch of cayenne.No tahini?Substitute almond butter, cashew butter, or sunflower seed butter.Try different beansYou can swap the chickpeas for white beans (like cannellini or navy beans) for an extra-smooth, mild hummus variation.ConsistencyIf hummus is too thick, add additional cold water, one tablespoon at a time.Serve it WithVeggie sticks, brown rice tortilla chips, crackers, on a salad, in a wrap or as a sandwich spread.StorageKeeps 4-5 days in the fridge in an airtight container; may thicken after chilling, stir in a splash of water before serving.Freezes wellHummus freezes wonderfully for up to 3 months. Thaw in the fridge overnight and stir well, add a bit of water or lemon juice to bring back the creaminess.
This warm lentil salad is a simple, nourishing bowl built from everyday whole-food ingredients. Tender steamed sweet potato, hearty lentils, vibrant spinach, and a tangy splash of balsamic come together to create a balanced, fibre-rich dish that supports steady energy and gentle digestion. It’s quick enough for weeknights, versatile for meal prep, and endlessly adaptable with whatever vegetables or herbs you have on hand. Enjoy it as a satisfying plant-based meal on its own or as a colourful side that brings comfort and nutrition to any table.
Course Main Course, Salad, Side Dish
Total Time 15 minutesminutes
Servings 4
Ingredients
2Sweet Potatomedium, peeled and cut into small cubes
1 1/3cupsVegetable Brothdivided
1cupRed Onionchopped
3Garliccloves, minced
4cupsBaby Spinach
4cupsLentilscooked, rinsed
1/4cupBalsamic Vinegar
1/2cupParsleychopped, optional
Instructions
Place sweet potato in a steamer over boiling water, cover, and cook for 8 to 10 minutes or until tender.
Meanwhile, add half of the broth to a large pan with the onions and garlic. Cook over medium heat until the onions have softened, about 3 to 5 minutes. Add the salt and stir to combine. Wilt in the spinach.
Add the lentils, balsamic vinegar, and the remaining broth. Continue to cook over medium heat for about 5 minutes more until most of the liquid has been absorbed.
Remove the pan from the heat and stir in the steamed sweet potato and parsley. Divide into bowls and enjoy!
Notes
Swap the sweet potatoButternut squash, carrots, or parsnips work well in place of sweet potato. Just keep the bite-sized cubes for even cooking.Use different greensBaby kale, chard, or finely shredded lacinato kale can be used instead of spinach. If using heartier greens, sauté an extra few minutes to soften.Try other lentilsBrown or green lentils hold their shape best, but French (Puy) lentils are also great for texture. Avoid red lentils, which will break down and make the salad mushy.Add fresh herbsSwap or add herbs such as cilantro, dill, or basil for a different flavour profile.Bump up the acidityIf you like a brighter dressing, add a splash of lemon juice or a teaspoon of Dijon mustard with the balsamic.Make it a mealAdd pumpkin seeds, hemp hearts, cooked quinoa, or roasted chickpeas for more protein and crunch.Add aromaticsA pinch of smoked paprika, cumin, or chili flakes meshes nicely with the sweet potato and lentils.Serving suggestionThis salad is excellent warm, but also holds up well chilled for meal prep. It thickens slightly as it sits.LeftoversRefrigerate in an airtight container for up to four days. Reheat with extra vegetable broth if lentils become too dry.
In the UK, “flapjack” refers to a sweet oat bar traditionally made with butter, sugar, and golden syrup, quite different from the North American pancake we associate with the same name! These WFPB Flapjacks are a nourishing twist on the classic European treat, made entirely from whole-food, plant-based ingredients with no added oils or refined sugars. Think of them as a naturally sweet, chewy oat bar that’s perfect for breakfast, snacks, or an on-the-go energy boost.
Course Breakfast, Dessert, Snack
Total Time 35 minutesminutes
Servings 16
Calories 115kcal
Equipment
1 Food Processor
Ingredients
1Apple
3/4cupCashews
1cupPitted Datesloosely packed
1 1/2cupsOats
1/2cupUnsweetened Shredded Coconut
1tspVanilla Extract
Instructions
Place the dates and cashews in a bowl and cover with boiling water. Soak for 10 minutes. Drain, reserving the soaking liquid.
Preheat the oven to 400°F (200°C) and line an 8×8-inch baking pan with parchment paper.
Core and chop the apple (no need to peel).
In a food processor, combine the apple, cashews, dates, vanilla, and 2 tablespoons of the reserved soaking liquid. Process until fairly smooth.
In a large mixing bowl, combine the oats and shredded coconut. Add the fruit and nut mixture and stir until well combined.
Spread the mixture evenly into the prepared pan, smoothing the top.
Bake for about 20 minutes, or until the edges are crisp and the top is golden.
Let cool completely before cutting into pieces
Notes
Optional add-insTry adding cinnamon, cardamom, or a handful of chopped nuts or dried fruit to vary the flavour and texture.Soaking waterDon’t discard the cashew-date soaking water! It’s naturally sweet and nutrient-rich, perfect for using in chia pudding, overnight oats, or smoothies for extra flavour and nutrition.Texture tipFor chewier flapjacks, bake for a slightly shorter time; for firmer, crispier edges, bake a few minutes longer.StorageStore in an airtight container in the refrigerator for up to 5 days, or freeze for longer storage. Delicious chilled or lightly warmed.
This cozy, golden-hued soup is pure comfort in a bowl, simple, nourishing, and gently sweet from the addition of pear. The butternut squash brings a velvety texture and a dose of beta-carotene, while sage and garlic add depth and warmth. It’s a beautiful way to celebrate autumn produce and makes a quick, satisfying meal that feels both grounding and light.
Course Main Course, Soup
Total Time 30 minutesminutes
Servings 4
Ingredients
4cupsButternut Squashpeeled, chopped
3Garlic cloves
2Pearpeeled, seeds removed, roughly chopped
1Carrotchopped
1Yellow Onionchopped
1tspGround Turmericor 1 tbsp fresh, grated
1tbspFresh Sageoptional
1/2tspSea Saltoptional
2cupsVegetable Brothplus more if needed
Instructions
Add all of the ingredients to the pressure cooker and close the lid.
Set to “sealing”, then press manual/pressure cooker and cook for 10 minutes on high pressure. Once it is done, release the pressure manually. Remove the lid carefully and let the soup mixture cool slightly.
Using a hand blender, puree the soup until smooth. Add additional broth if needed until the desired consistency is reached.
Divide between bowls and enjoy!
Notes
Squash variations: While butternut squash is classic for this soup, feel free to use other winter squash like kabocha, delicata, or acorn. Each will bring its own subtle sweetness and texture, just adjust the cooking time slightly if your squash is particularly dense.
Flavour balance: The pear adds gentle sweetness that complements the earthy squash. For a little extra brightness, stir in a splash of lemon juice or apple cider vinegar before serving.
Pear: Bosc pears were used for this recipe. Firm, not overly ripe, pears yield the best results.
Texture: If you prefer a creamier soup, blend in a few tablespoons of coconut milk or a small cooked potato before pureeing.
Herb options: Sage gives a lovely autumn aroma, but you could also try thyme, rosemary, or a bit of ginger for a warmer, spicier note.
Consistency check: Start with the listed 2 cups of broth, then thin with more as needed after blending, the soup will thicken slightly as it cools.
No Hand Blender: Use a blender or food processor instead.
Serving ideas:
Garnish with pumpkin seeds or a sprinkle of smoked paprika, fresh ground black pepper or red pepper flakes.
Pair with crusty whole grain bread or a light green salad for a balanced meal.
Storage: Keeps well in the fridge for up to 4 days or freeze in portions for up to 3 months. Reheat gently and add a little water or broth if it thickens too much.
Make it on the stovetop: If you don’t have a pressure cooker, simmer everything in a covered pot for 25–30 minutes, or until the vegetables are very tender, then blend.
Sweet apple, tangy citrus, and hearty quinoa come together with vibrant beets and kale for a refreshing, nutrient-packed dish that’s as good for your gut as it is for your taste buds. It’s perfect as a light meal, a make-ahead lunch, or a colourful side to share.
Course Salad, Side Dish
Total Time 25 minutesminutes
Servings 4
Ingredients
1cupKale Leaveschopped
1tbspLemon Juice
1cupQuinoacooked
1Applejulienned
2Beetsmall, peeled, julienned
2Carrotsmall, julienned
1/3cupDried Cranberrieschopped
1/4cupOrange Juice
2tbspsApple Cider Vinegar
1tbspDijon Mustard
2tbspsHemp Seeds
Sea Salt & Black Pepperoptional
Instructions
Cook the quinoa (if not already cooked) according to package directions. Once done, set aside to cool.
Prepare the kale: Place the chopped kale in a large salad bowl and add the lemon juice. Massage with your hands for 1–2 minutes, until the leaves darken and soften slightly.
Make the dressing: In a small bowl, whisk together the orange juice, apple cider vinegar, and Dijon mustard until smooth.
Assemble the salad: Add the cooled quinoa, apple, beets, carrots, cranberries, and hemp seeds to the bowl with the kale.
Dress and season: Pour the dressing over the salad and toss until everything is well combined. Season with sea salt and black pepper to taste.
Notes
Time-saverUse leftover quinoa to make this salad come together quickly.Serving ideaGreat as a light lunch or side dish alongside a hearty soup or roasted vegetables.Optional add-insTry adding chopped parsley, fresh mint, chopped green onions, or a handful of pumpkin seeds for extra texture and flavour.SubstitutionsSwap hemp seeds for sunflower seeds, and use maple syrup in the dressing if you prefer a hint of sweetness.StorageThis salad keeps well in the fridge for up to 4 days. The flavours deepen as it sits, perfect for a make ahead meal.
Made these beauties today, and I couldn’t be more excited! They’re WFPB and gluten-free. The dough is a buckwheat–sorghum sourdough base, and the filling is a cozy mix of apples, mulberries, and a touch of maple syrup. I also added a thin layer of almond butter on the rolled out dough before spreading on the apple-cinnamon mixture, it makes the buns extra gooey and satisfying.I’ve been working toward a tasty GF, WFPB cinnamon bun for years, and this recipe finally delivers. The best part? This filling will work beautifully with any cinnamon bun dough you like, not just sourdough or GF.
Ingredients
2cupspeeled, finely chopped apples
¼cupdried mulberries
2tablespoonsmaple syrup
3tablespoonswater
1tablespoonarrowroot flour
2teaspoonsground cinnamonI used 1 tsp of cassia, 1 tsp Ceylon
3tablespoonalmond butter
Instructions
In a medium saucepan combine the apples, mulberries, maple syrup, and 2 tablespoons of the water. Bring to a boil, reduce heat, cover and cook for about 5 minutes, stirring occasionally, until the apples are softened and beginning to break down.
Remove the lid and stir in the arrowroot flour, cinnamon, and 1 tablespoon of water. Cook and stir for 1 minute more, until slightly thickened. Remove from heat and let cool slightly.
To assemble the buns, spread the almond butter evenly over the rolled out dough. Spoon the cooled apple mixture on top and spread evenly. Roll up dough, let rise and bake as directed.
(Optional: About 5 minutes before the buns are finished baking, remove them from the oven and brush with an additional 1 tablespoon of maple syrup. Return to the oven to set the glaze.)
Notes
Apple texture: After about 5 minutes of cooking, the apples should be soft and beginning to break down. If you prefer chunkier filling, reduce the cooking time slightly. Mulberry swap: Dried mulberries add natural sweetness and a caramel-like flavour, but raisins, currants, or chopped dates also work well. Nut-free option: If you’d like to keep this recipe nut-free, swap the almond butter for sunflower seed butter or simply skip this step. Sweetness level: The filling is lightly sweetened. For a sweeter bun, add an extra tablespoon of maple syrup or a handful of chopped dates. Make-ahead tip: The apple filling can be made 1–2 days in advance and stored in the fridge. Bring to room temperature before spreading on dough.