Author: Peggy

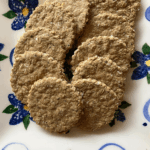
  • Oatcakes

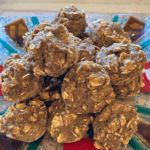
    Oatcakes

    Oatcakes

    Course Appetizer, Breakfast, Snack

    Ingredients

    • 3 ¼ cups whole oats
    • cup hemp hearts
    • ½ tsp baking soda
    • ½ tsp salt optional
    • cup warm water
    • ¼ cup applesauce
    • ¼ cup cashew butter or sub alternative nut or seed butter

    Instructions

    • Blend 2 cups of oats in your food processor or high speed blender. You want to blend it into a rough flour.
    • Put ground oats in a mixing bowl along with the remainder of the whole oats, hemp hearts, baking soda, and salt and mix.
    • Mix the applesauce, nut butter, and water in the blender then add it to the dry mix. Shape the dough into a ball. If time permitting, let the dough rest for 5-10 minutes as this will help it firm up and will be easier to roll out.
    • Take a large ball of the dough and roll it to about ¼ inch thickness between two pieces of parchment paper. Cut the dough into desired shapes.
    • Place the oatcakes on a parchment lined baking sheet.
    • Bake at 350 Fahrenheit for 20 minutes or until golden brown. Let cool before removing from the tray.

    Notes

    These freeze well.
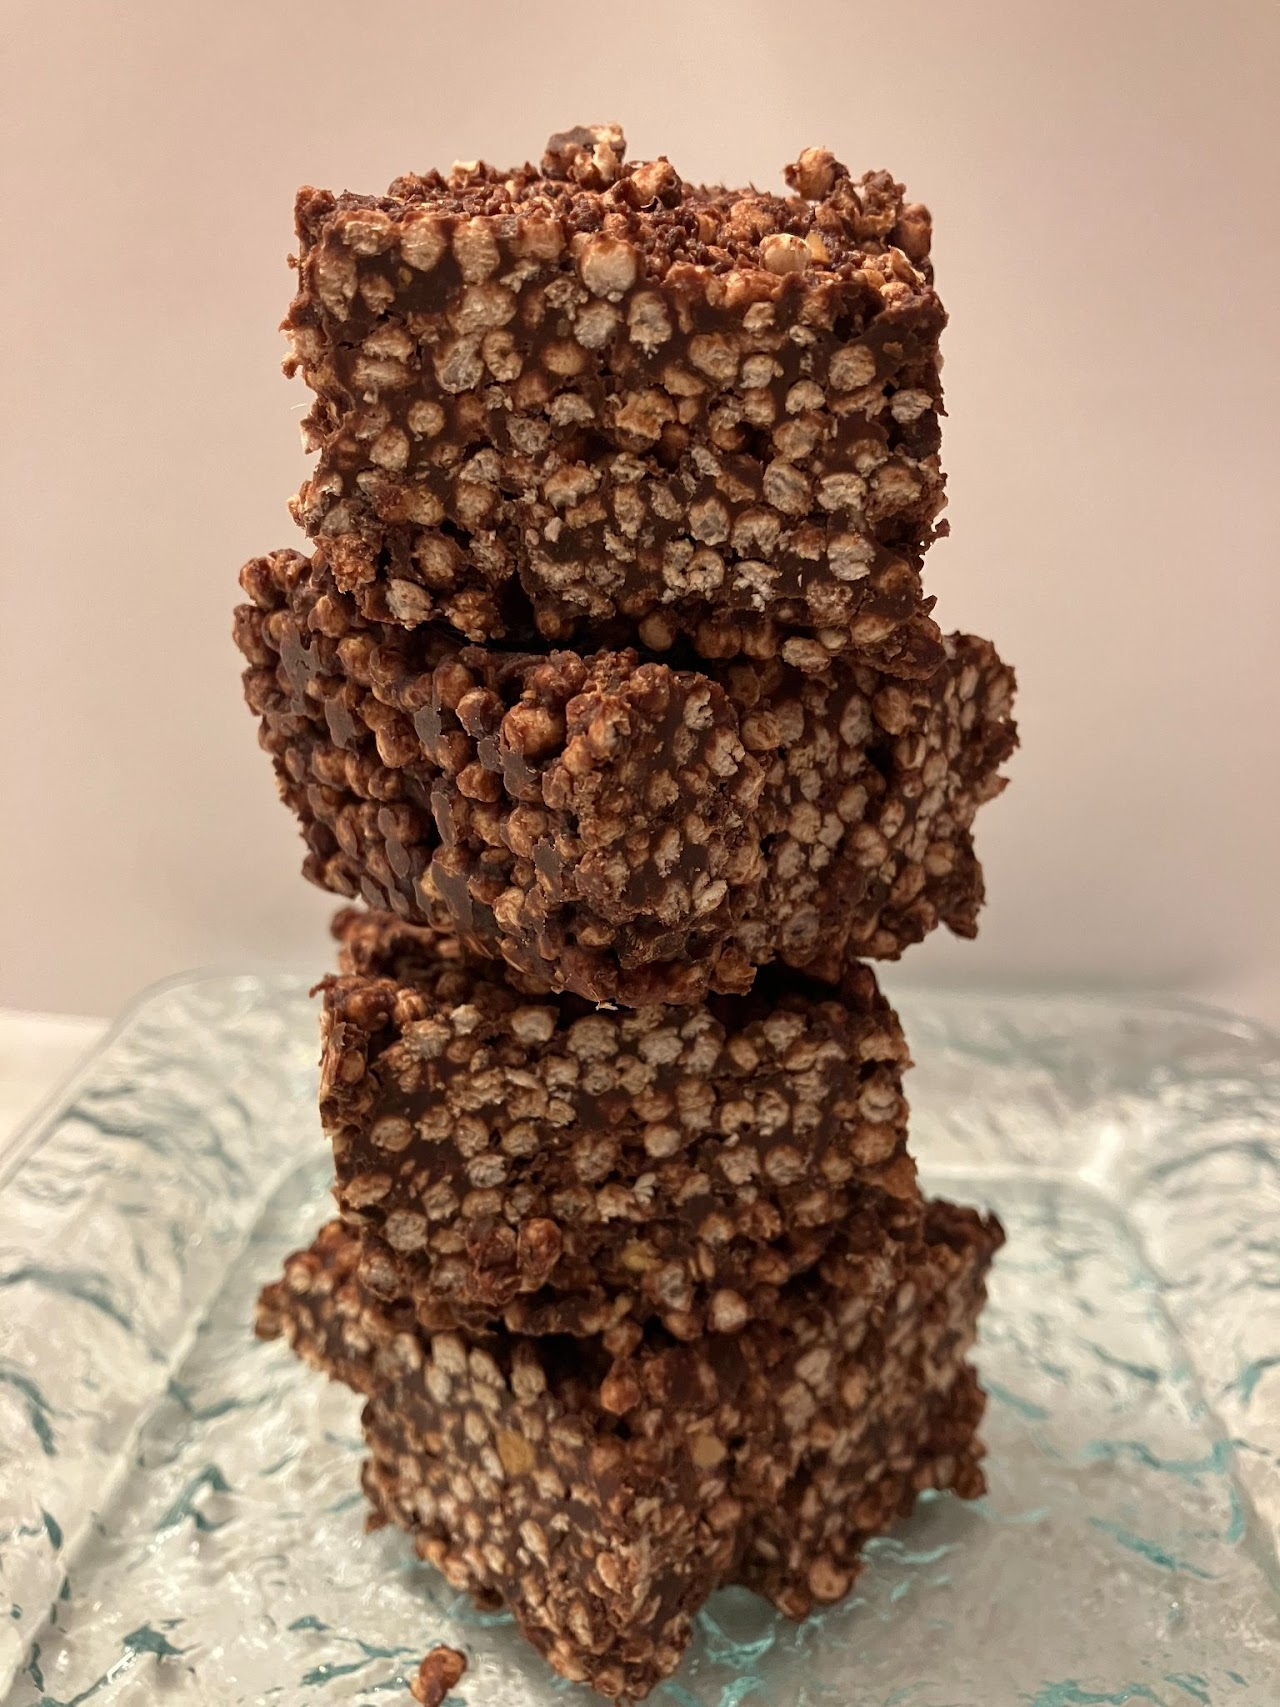
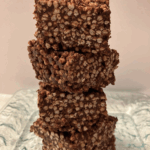
  • Puffed PB Chocolate Squares – Version 1

    Puffed PB Chocolate Squares – Version 1

    Puffed PB Chocolate Squares – Version 1

    Sometimes you just need a treat and these definitely fall into that category! My husband loves these and he’s not much into my gf vegan baking. What version I make is dependant on what ingredients I have on hand. I don’t always have cacao paste but if I had to pick, the cacao paste version would be my favourite.

    Ingredients

    • 1/2 cup cacao butter
    • 1/2 cup cacao paste
    • 1/2 cup peanut butter
    • 4 medjool dates soaked for 10 minutes in hot water
    • 1 tsp vanilla
    • pinch of salt
    • 4 cups puffed quinoa

    Instructions

    • Soak the dates in hot water for 10 minutes and then using a fork, mash into a paste.
    • In a double boiler or a large bowl set over a pot of simmering water, melt the cacao butter and paste together, stirring frequently.
    • Once the cacao butter and paste are melted, add the peanut butter stirring well until the mixture is well combined. Remove from heat.
    • Add the vanilla, date paste and salt. Mix well.
    • Add the puffed quinoa stirring until all the grains are equally covered with the chocolate mixture.
    • Press the mixture into a parchment lined 8″ square baking pan. Patting down and leveling the top.
    • Refrigerate until set, about an hour.

    Notes

    Version 2
    Ingredients
    1/2 cup cacao butter
    1/3 cup cacao (or cocoa for a less intense flavour)
    1/2 cup peanut butter
    4 medjool dates (soaked for 10 minutes in hot water)
    1 tsp vanilla
    pinch of salt
    3 cups puffed quinoa
    Preparation
    Soak the dates in hot water for 10 minutes and then using a fork, mash into a paste.
    In a double boiler or a large bowl set over a pot of simmering water, melt the cacao butter, stirring frequently.
    Once the cacao butter is melted, add the cacao and peanut butter stirring well until the mixture is well combined. Remove from heat.
    Add the vanilla, date paste and salt. Mix well.
    Add the puffed quinoa stirring until all the grains are equally covered with the chocolate mixture.
    Press the mixture into a parchment lined 8″ square baking pan. Patting down and leveling the top.
    Refrigerate until set, about an hour.
    Tip:
    Feel free to test the chocolate mixture prior to adding the quinoa and adjust the sweetness to your taste. This can be done with date or coconut sugar.
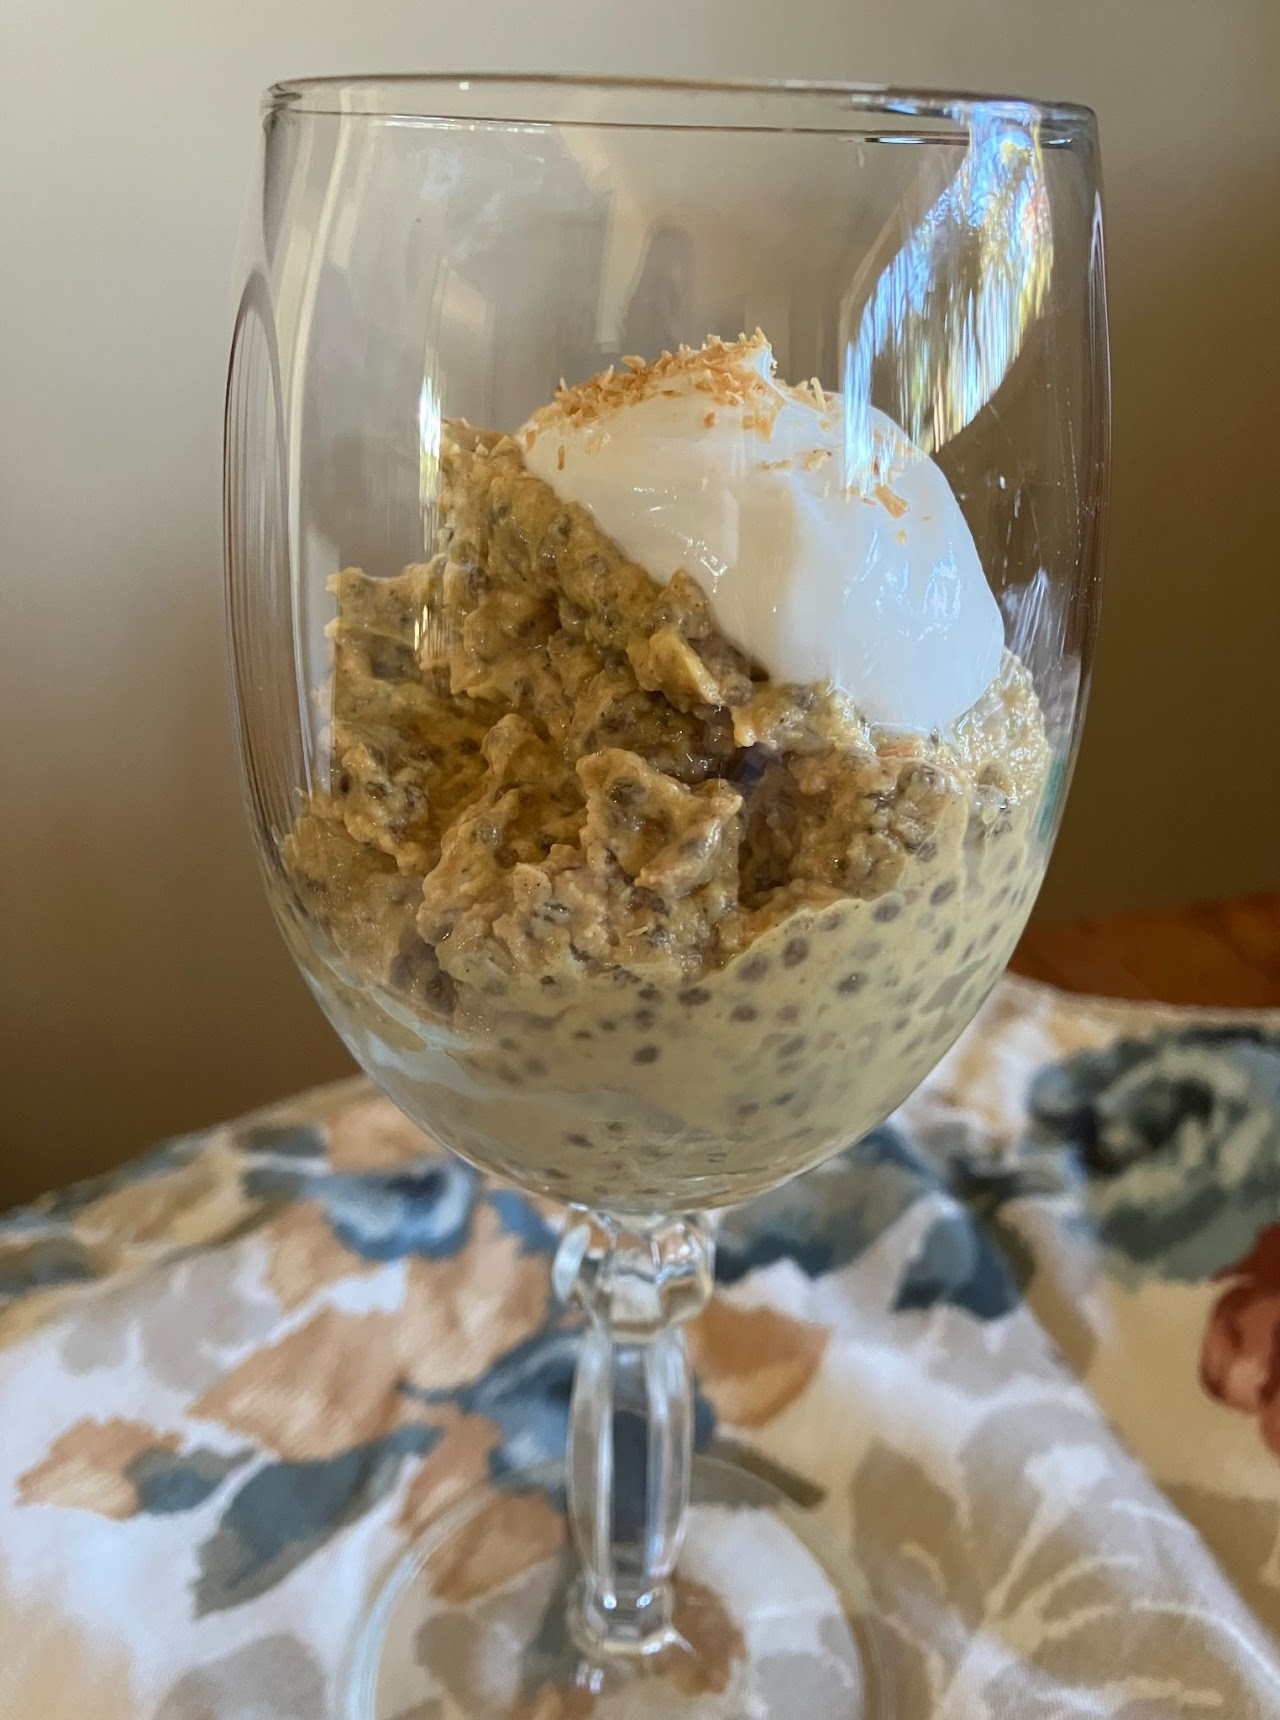
  • Pumpkin Pie Chia Pudding

    Pumpkin Pie Chia Pudding

    Pumpkin Pie Chia Pudding

    Yum, this one is so good it’s hard not to eat the whole bowl! Try it topped with a little coconut yogurt or add a crunch with some granola. This keeps well in the fridge for up to five days. If you have white chia seeds, feel free to use them or use a 50/50 splits of white and black for a visually stunning pudding!

    Ingredients

    • 1/2 cup raw pecans
    • 1 cup of cooked pumpkin homemade or canned
    • 2 ripe pears peeled (or 1/4 cup date paste)
    • 1 1/2 cups plant based milk
    • 1 tsp cinnamon
    • 1/2 ground ginger
    • 1/2 ground nutmeg
    • 1/4 cup chia seeds

    Instructions

    • Toast the pecans in a small skillet over low heat until golden brown.
    • Add pecans and all other ingredients except for the chia seeds, to a high powered blender or food processor. Process until smooth and all ingredients are combined.
    • Transfer to a medium sized bowl and stir in the chia seeds. Cover and refrigerate for 3 hours or overnight.
    • Eat as is or top with desired toppings. Enjoy!

    Notes

    I like to add a tablespoon of ground flaxseed to my serving to increase my intake of omega-3 fatty acids.
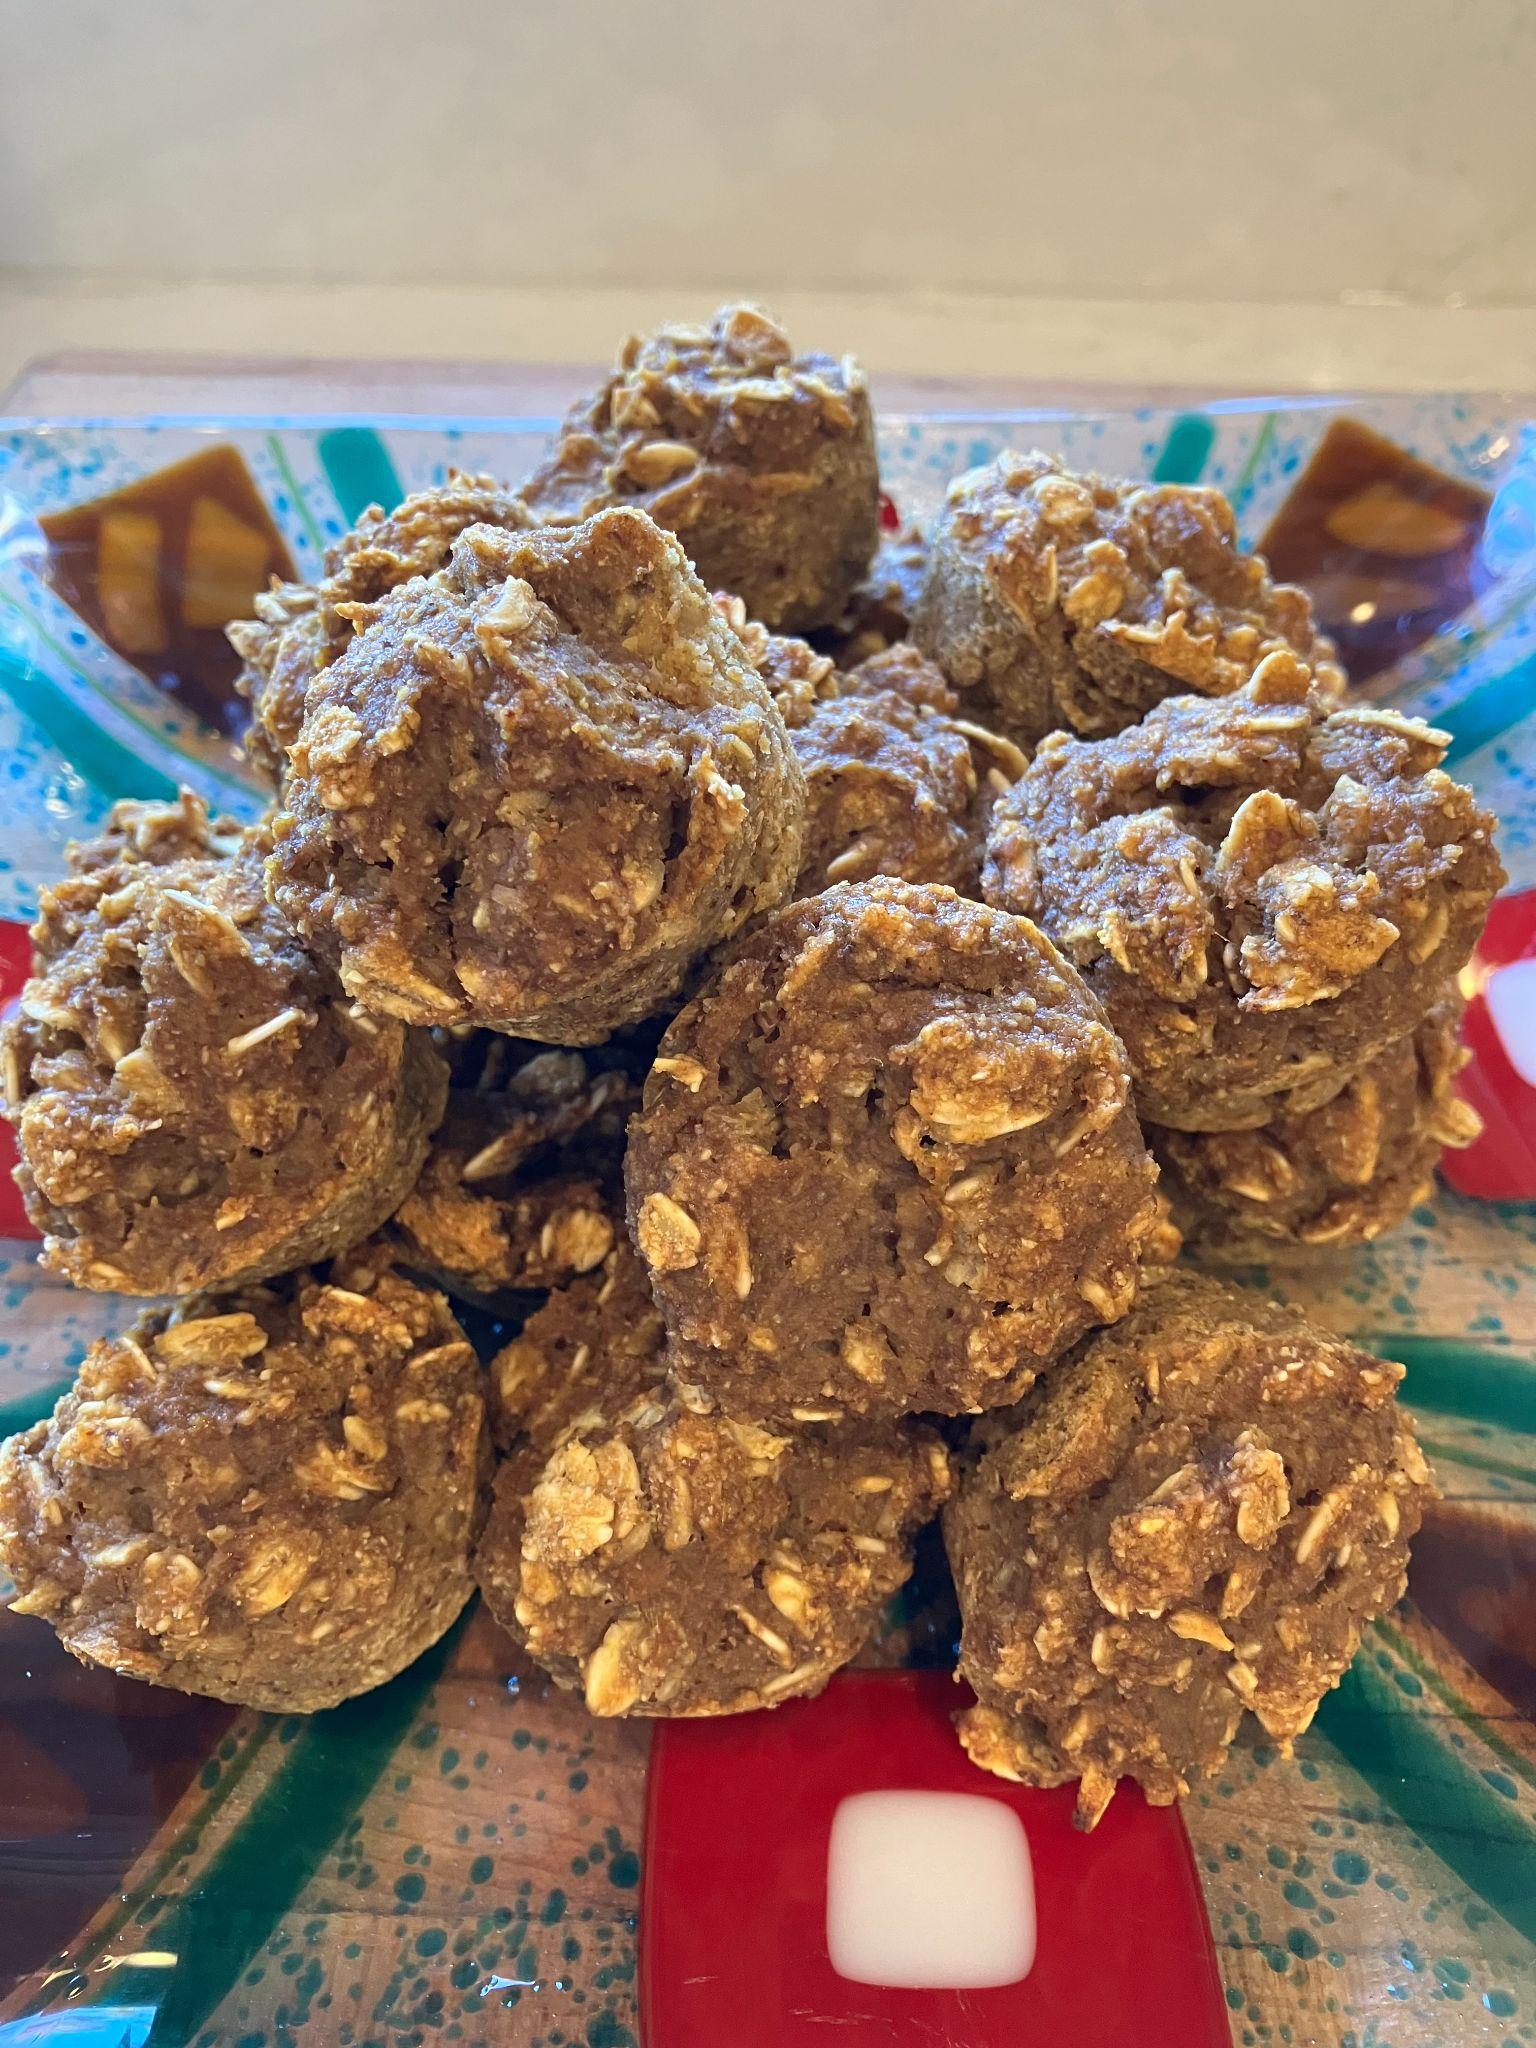
  • Pumpkin Oatmeal Muffins 

    Pumpkin Oatmeal Muffins 

    Pumpkin Oatmeal Muffins

    It’s pie pumpkin season and I picked one up from the farm the other day and roasted it. I made these tasty little muffins and a chia pudding. Now I need to get a few more pumpkins so I can freeze some pumpkin for later! Makes 24 small muffins or 12 large ones (One thing about GF vegan baking is it’s hard to tell when something is baked through. For muffins, I prefer to make the smaller ones to ensure they aren’t doughy inside.)

    Ingredients

    • 3/4 cup pumpkin puree homemade or canned
    • 2 ripe bananas mashed
    • 1/2 cup unsweetened applesauce
    • 1 cup rolled oats
    • 1/4 cup coconut flour
    • 1 tbsp ground flaxseed meal
    • 1 tsp cinnamon
    • 2 tsp baking powder
    • 1 tsp pure vanilla extract

    Instructions

    • Preheat oven to 350 degrees and line your muffin pan with parchment paper liners or use a silicone muffin pan.
    • In a large mixing bowl, stir together all the ingredients until combined.
    • Divide the batter evenly between the muffin cups and bake about 22-25 minutes (longer for large muffins), or until the tops are golden and feel just about firm to the touch. Remove the muffins from the oven, and place on a cooling rack. (If you’re using a silicone muffin pan, it’s best to let the muffins sit for 5 minutes before removing them from the pan.)
    • Serve warm or at room temperature.

    Notes

    These freeze well.
    Benefits: These muffins are sweetened with fruit only and contain no oil. They are high in fibre. In addition to beta carotene, pumpkin offers vitamin C, vitamin E, iron, and folate, all of which strengthen your immune system. Pumpkin is also rich in potassium which can help regulate your blood pressure, lowering your risk for heart attack and stroke.
  • Roasted Celeriac & Caramelized Onion Soup

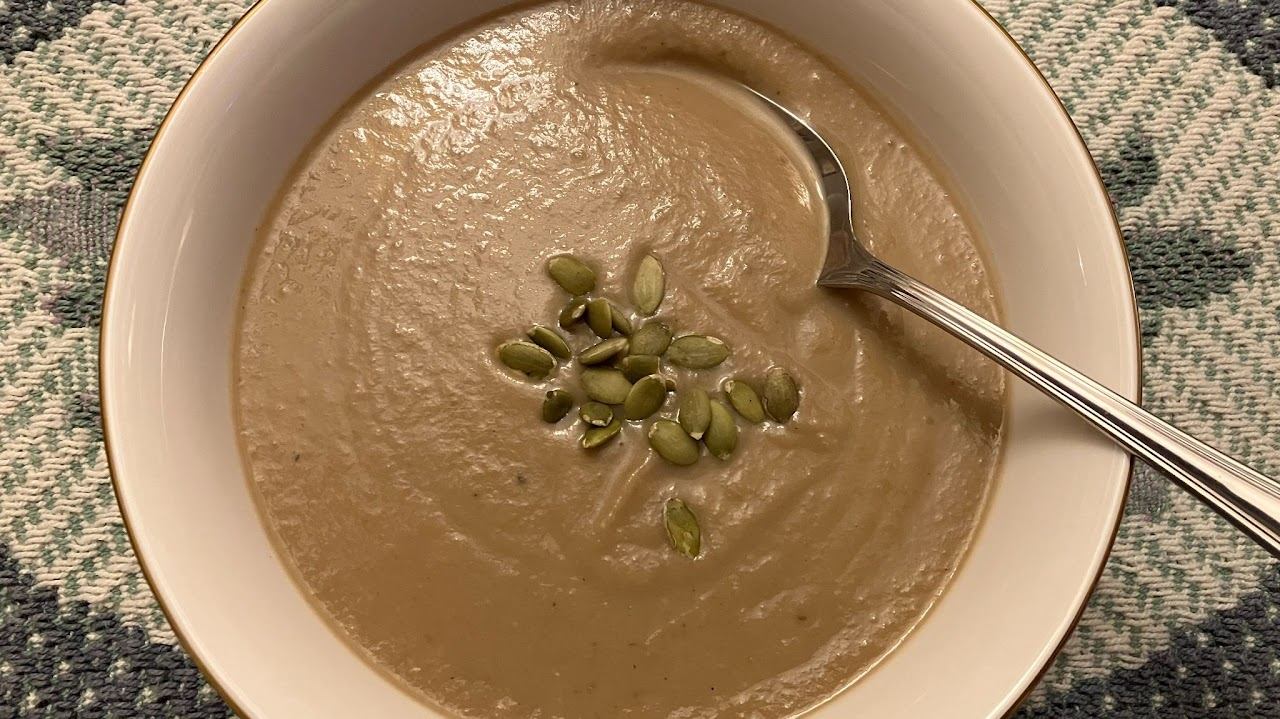
    Roasted Celeriac & Caramelized Onion Soup

    Roasted Celeriac & Caramelized Onion Soup

    This soup does require a bit of time but it’s completely worth it especially in the fall when celeriacs are in abundance. That’s how this recipe came to be!

    Ingredients

    • 1 celeriac celery root
    • 2 tablespoons olive oil
    • 2 large onions sliced
    • 3 cloves garlic minced
    • 4 cups 700ml vegetable stock
    • 1/2 tsp salt
    • 1 tsp freshly ground pepper

    Instructions

    • Heat the oven to 400°F.
    • Carefully peel the celeriac and chop into cubes. Place on a baking sheet and drizzle with 1 tablespoon of olive oil. Spread out in a single layer and roast for 40 minutes or until the cubes turn golden.
    • Meanwhile, heat the remaining 1 tablespoon of oil in a large pot on medium-low and add the onions. Cook on medium-low for about 10 minutes or until the onions are soft and translucent. Turn up the heat and continue cooking until the onions are golden, stirring often. Once caramelized, add the garlic and cook for 1 minute.
    • Add the stock, bring the soup to a boil and then reduce the heat and simmer for 5 minutes.
    • When the roasted celeriac is finished, add it to the pot, bring it back to a boil and simmer for a further 5 minutes.
    • Transfer the soup to a blender and process until smooth. (Alternatively, you can just process half for a chunky soup.) Season with salt and pepper. Top with pumpkin seeds or a swirl of yogurt.
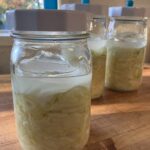
  • Sauerkraut

    Sauerkraut

    Sauerkraut

    Ingredients

    • 1 head green cabbage
    • sea salt

    Instructions

    • Depending on the size of your cabbage, have a couple of mason jars clean and ready to go. Usually, I can get about 1.5 pounds of cabbage into one regular sized jar.
    • Wash the outside of the cabbage. Take off and set aside the main outer leaves. These can be used as part of the weight system; to keep the sauerkraut under the brine.
    • Slice the cabbage. It doesn’t need to be small. If you prefer crunchier sauerkraut, keep it bigger.
    • Place the cabbage in a large bowl and sprinkle with salt. The formula for determining the needed amount of salt is for every 1 pound of cabbage, you’ll need 1.5 teaspoons of salt. So for a medium cabbage head of 3 pounds, you’ll need 4.5 teaspoons of salt.
    • You can start massaging the cabbage with your hands or pounding it right away if you are pressed for time. I typically leave mine for 45 minutes to 1 hour and let the salt do it’s thing for a while. Letting it sit means less massaging or pounding later.
    • Massage or pound until the cabbage becomes watery and limp. This usually takes 5-10 minutes.
    • Tightly pack the cabbage into your mason jar pressing the cabbage down every once in a while so that the brine makes it way to the top.
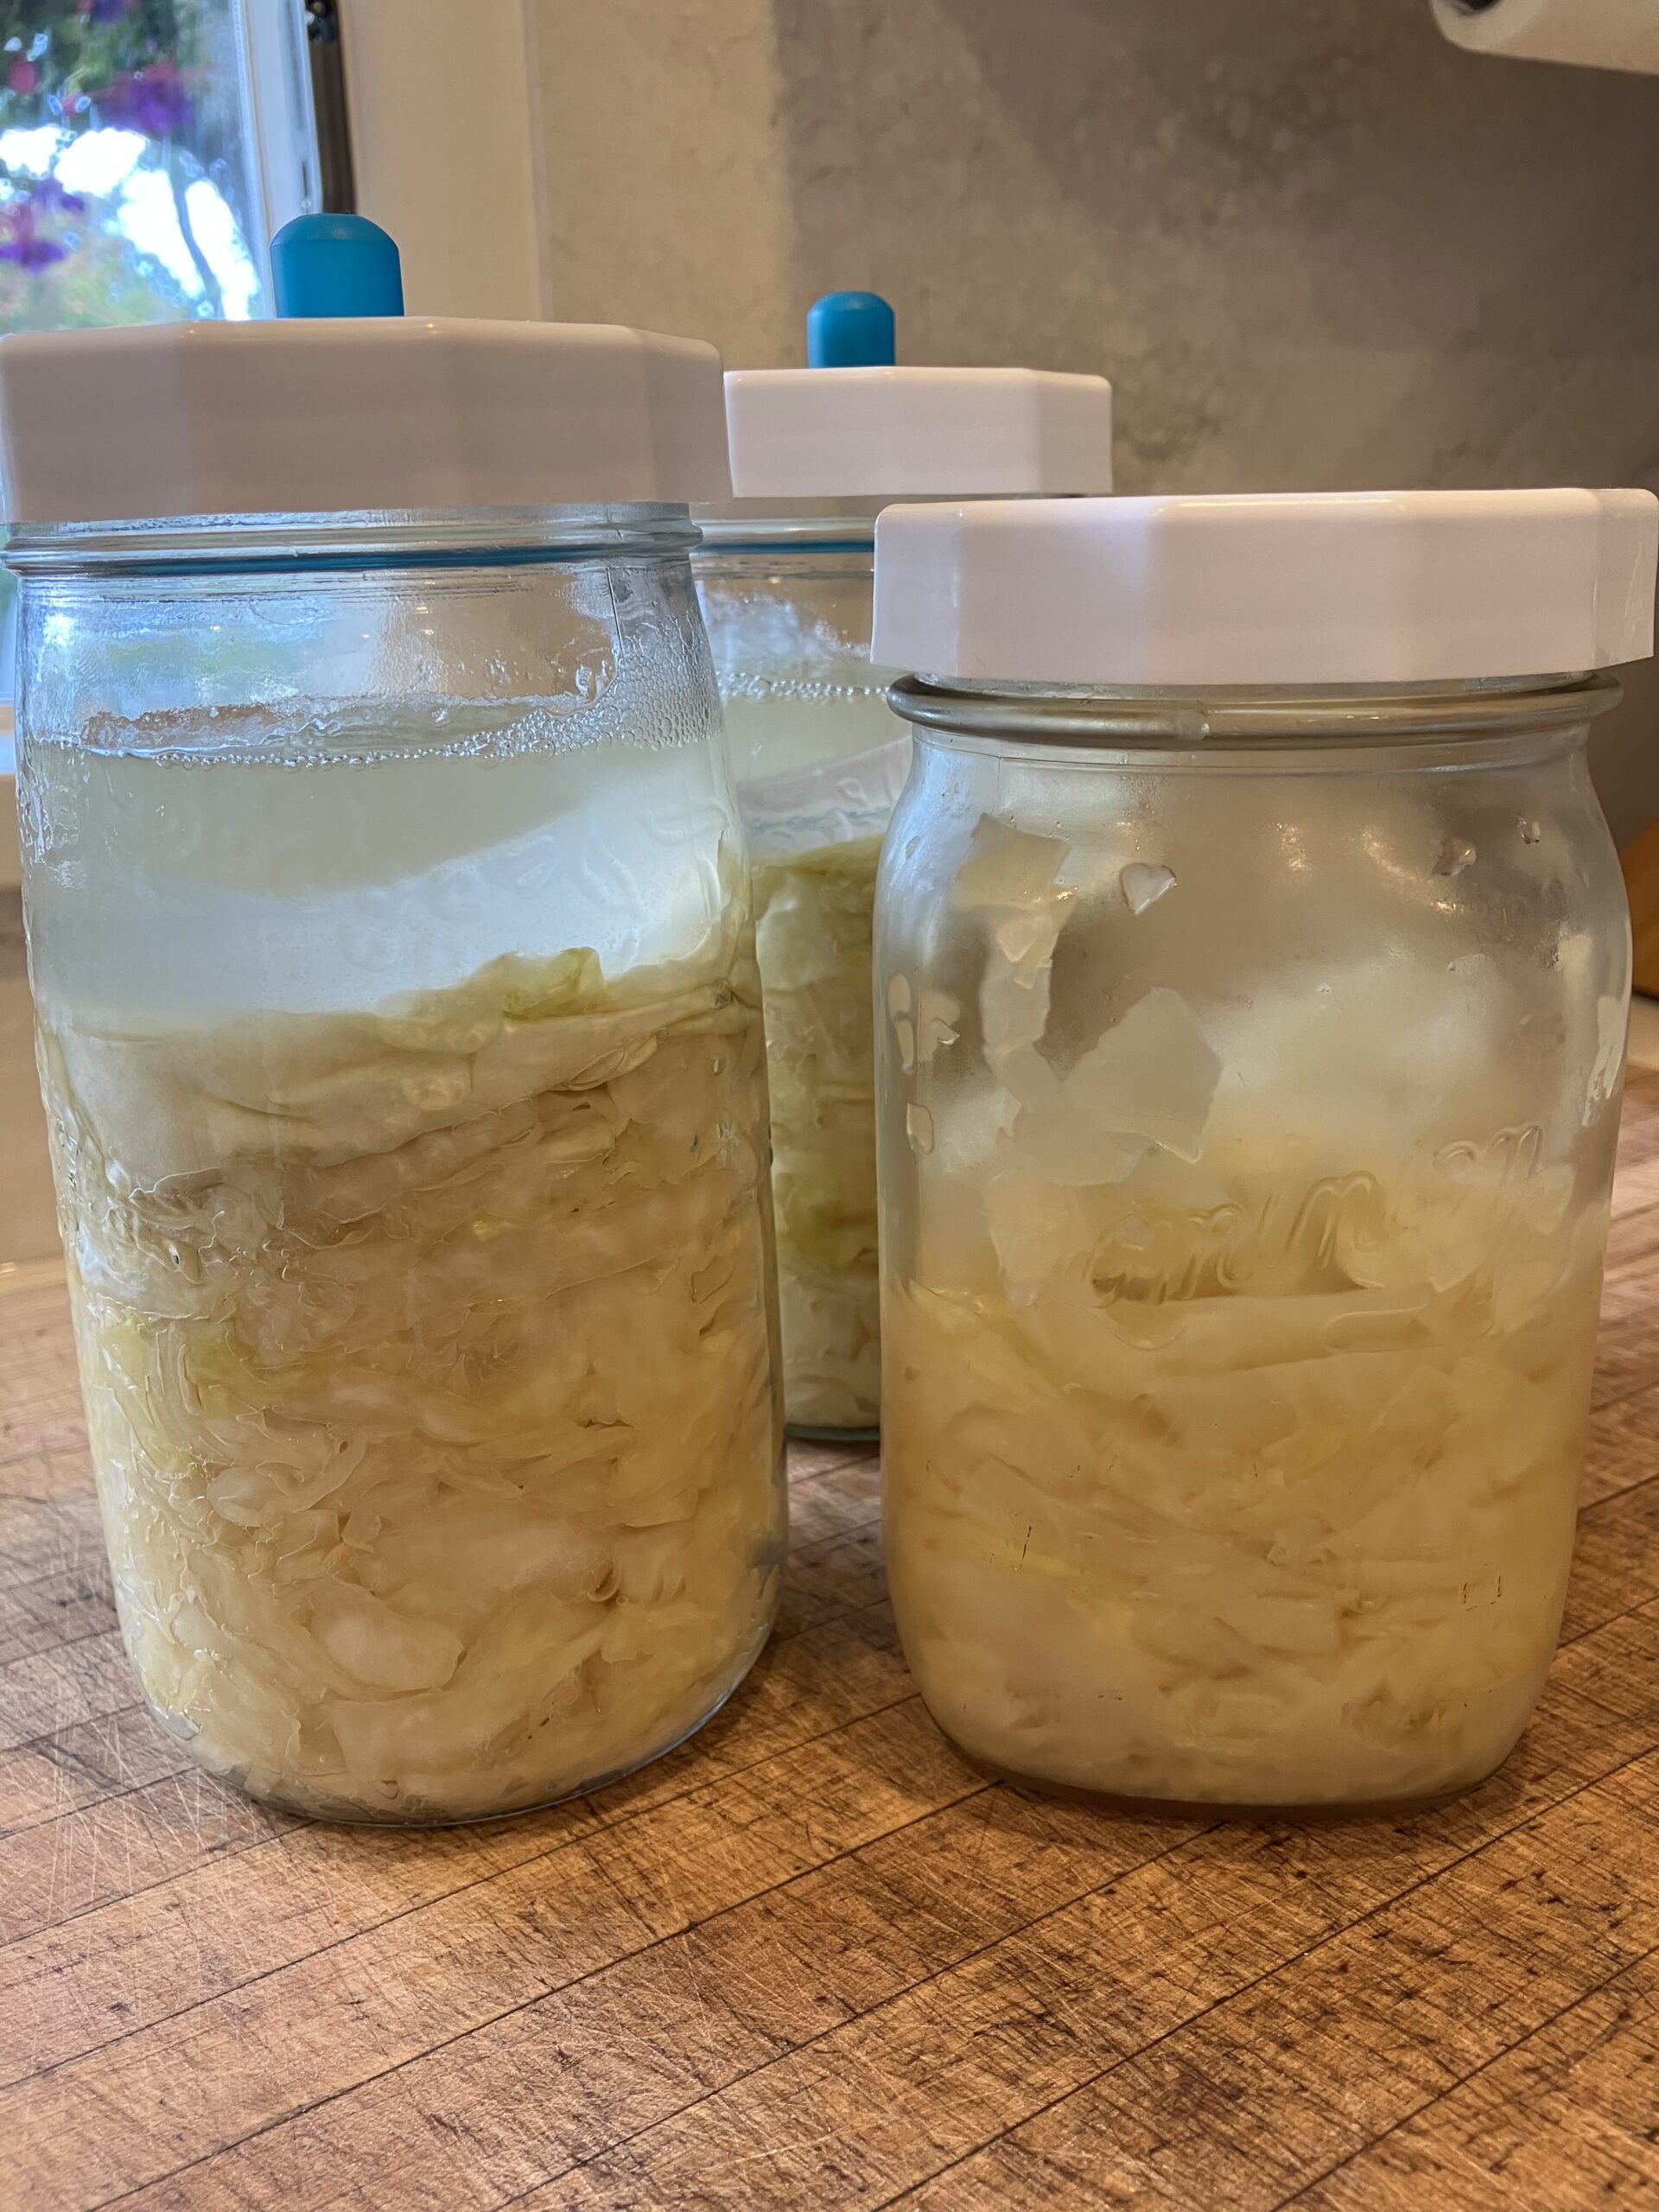
    • If you saved the outer leaves, top the cabbage with that and then add a weight. You can use a clean stoneware weight, stones or marbles. I purchased a mason fermentation set that includes a weight and a valve which I use all the time. I’d highly recommend you do the same if you plan on making sauerkraut often.
    • Seal the mason jar with a regular canning lid or a fermentation valve. If you don’t have a valve, you will have to “burp” your sauerkraut once a day. (Burping just means opening up the lid and allowing some of the gases to escape. If you don’t do this, your sauerkraut will likely explode!) With the valve, you don’t have to do any of this as the valve will take care of it.
    • When the sauerkraut is fermenting you should see bubbles coming up through the cabbage and eventually foam on top. These are good signs which mean that fermentation is happening.
    • There are no hard rules about how long to ferment your sauerkraut. I usually do somewhere between 5-10 days but I’ve been known to let it go longer.
    • If mold develops on the top, you can skim it off and eat the unaffected portion below.
    • Store the sauerkraut in the fridge. It will keep indefinitely.

    Notes

    You can flavour your sauerkraut by mixing in fresh dill, garlic, caraway seeds, sliced hot peppers, etc. Add the desired flavouring to the bowl of pounded cabbage right before you pack it. My absolute favourite is fresh dill and garlic.
    Make sure you only use sea salt. Iodized salt tends to inhibit the beneficial bacteria.
  • Savoury Spiced Roasted Cauliflower

    Savoury Spiced Roasted Cauliflower

    Savoury Spiced Roasted Cauliflower

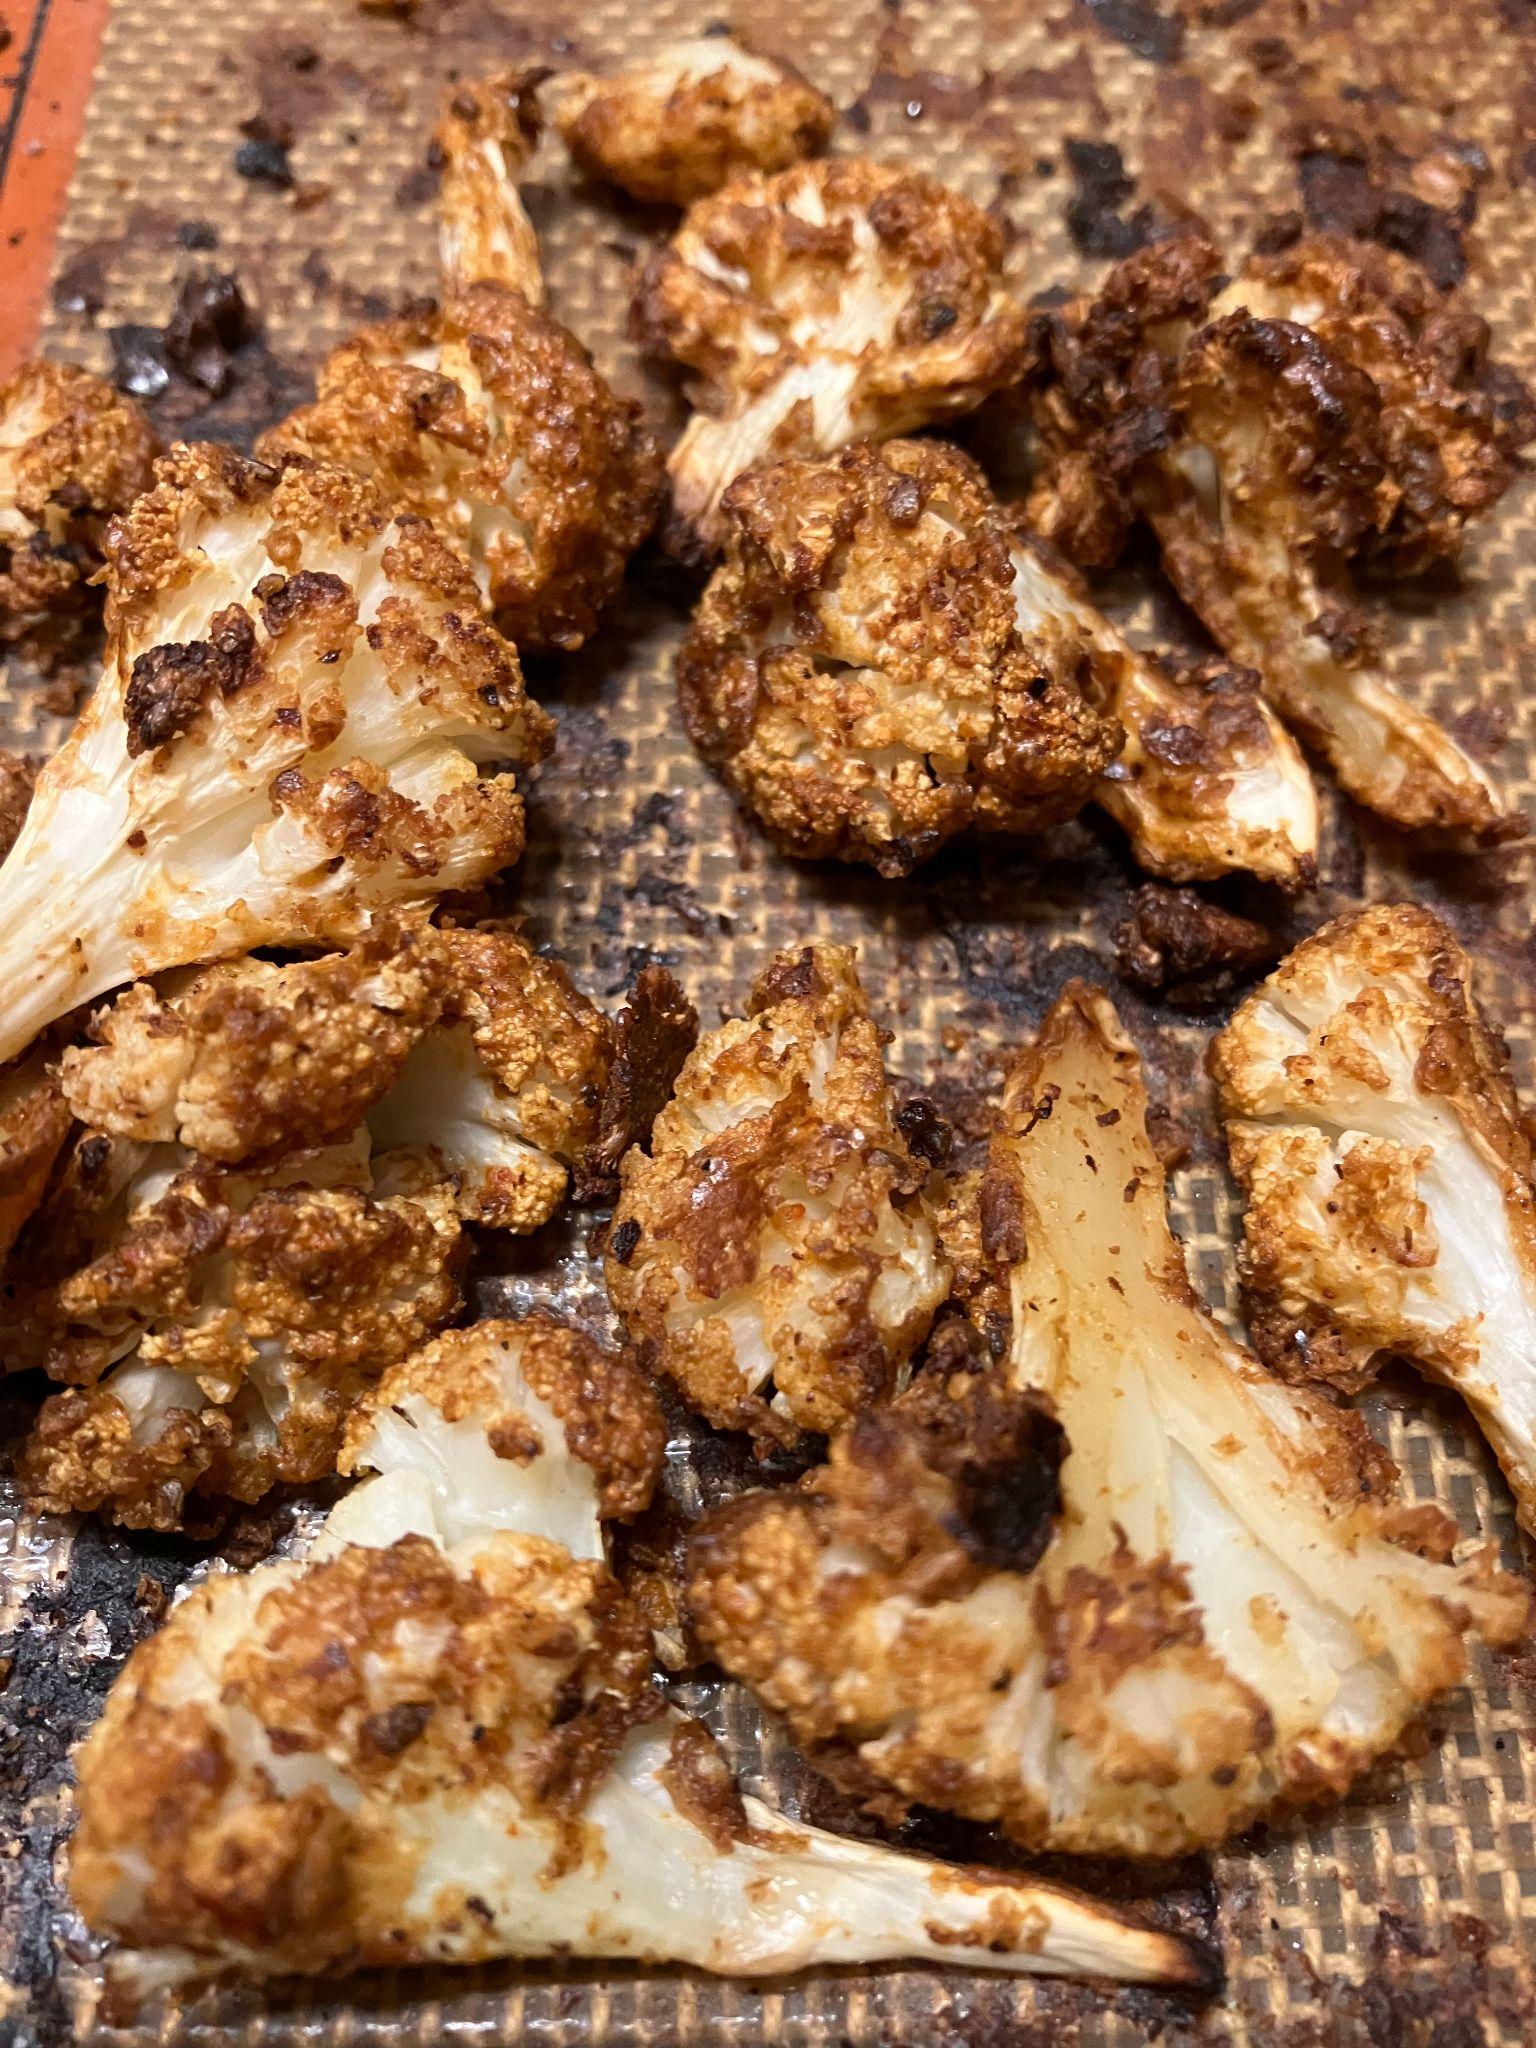
    I think this might be my favourite new recipe of the season! I've been making it almost weekly while cauliflower has been in season and on sale. It's incredibly versatile, and the simple combination of nut butter and applesauce creates a flavourful coating without the need for oil. Sometimes I serve it as a side dish, other times I use it to top a bowl of soup, it's especially delicious on my Butternut Squash Soup. I also love making the Mexican-inspired version and tucking it into tacos with black beans and vegan chipotle aioli. Yum!
    Course Main Course, Side Dish
    Total Time 50 minutes

    Ingredients

    • 1 medium cauliflower cut into small florets
    • 2 tbsp nut butter
    • 2 tbsp applesauce
    • 2 tbsp water
    • 1 tsp ground cumin
    • 1 tsp garam masala
    • ½ tsp coriander
    • ½ tsp cinnamon
    • 1 tsp turmeric
    • ½ tsp ground red chilis optional

    Instructions

    • Preheat the oven to 425°F (400°F convection). Line a baking sheet with parchment paper or a silicone baking mat.
    • In a large bowl, whisk together the nut butter, applesauce, and water until smooth. Add the cumin, garam masala, coriander, cinnamon, turmeric, and optional chili, stirring until well combined.
    • Add the cauliflower florets and toss until evenly coated with the spice mixture.
    • Spread the cauliflower in a single layer on the prepared baking sheet.
    • Roast for 35–40 minutes, stirring halfway through, until the cauliflower is tender and caramelized.

    Notes

    Choose Your Nut Butter
    Cashew butter creates the mildest flavour, while almond or peanut butter add a slightly richer, nuttier taste.
    Boost the Protein
    For a heartier dish, add 1 can (14 oz/398 ml) of chickpeas, drained and rinsed, to the cauliflower before tossing with the spice mixture. Roast everything together for a complete side dish or light meal.
    Try a Different Spice Blend
    Feel free to change the spices depending on your mood. For a Mexican-inspired version, substitute the spices above with:
    • 2 tsp chili powder
    • 1 tsp garlic powder
    • 1 tsp smoked paprika
    • ½ tsp ground chili (optional)
     
    Serving Suggestions
    Serve alongside grain bowls, curries, salads, or tucked into wraps. It also makes a delicious addition to roasted vegetable platters.
    Storage
    Store leftovers in an airtight container in the refrigerator for up to 4 days. Reheat in the oven or air fryer to help restore the crisp edges.
  • Super Easy Mexican Beans

    Super Easy Mexican Beans

    Super Easy Mexican Beans

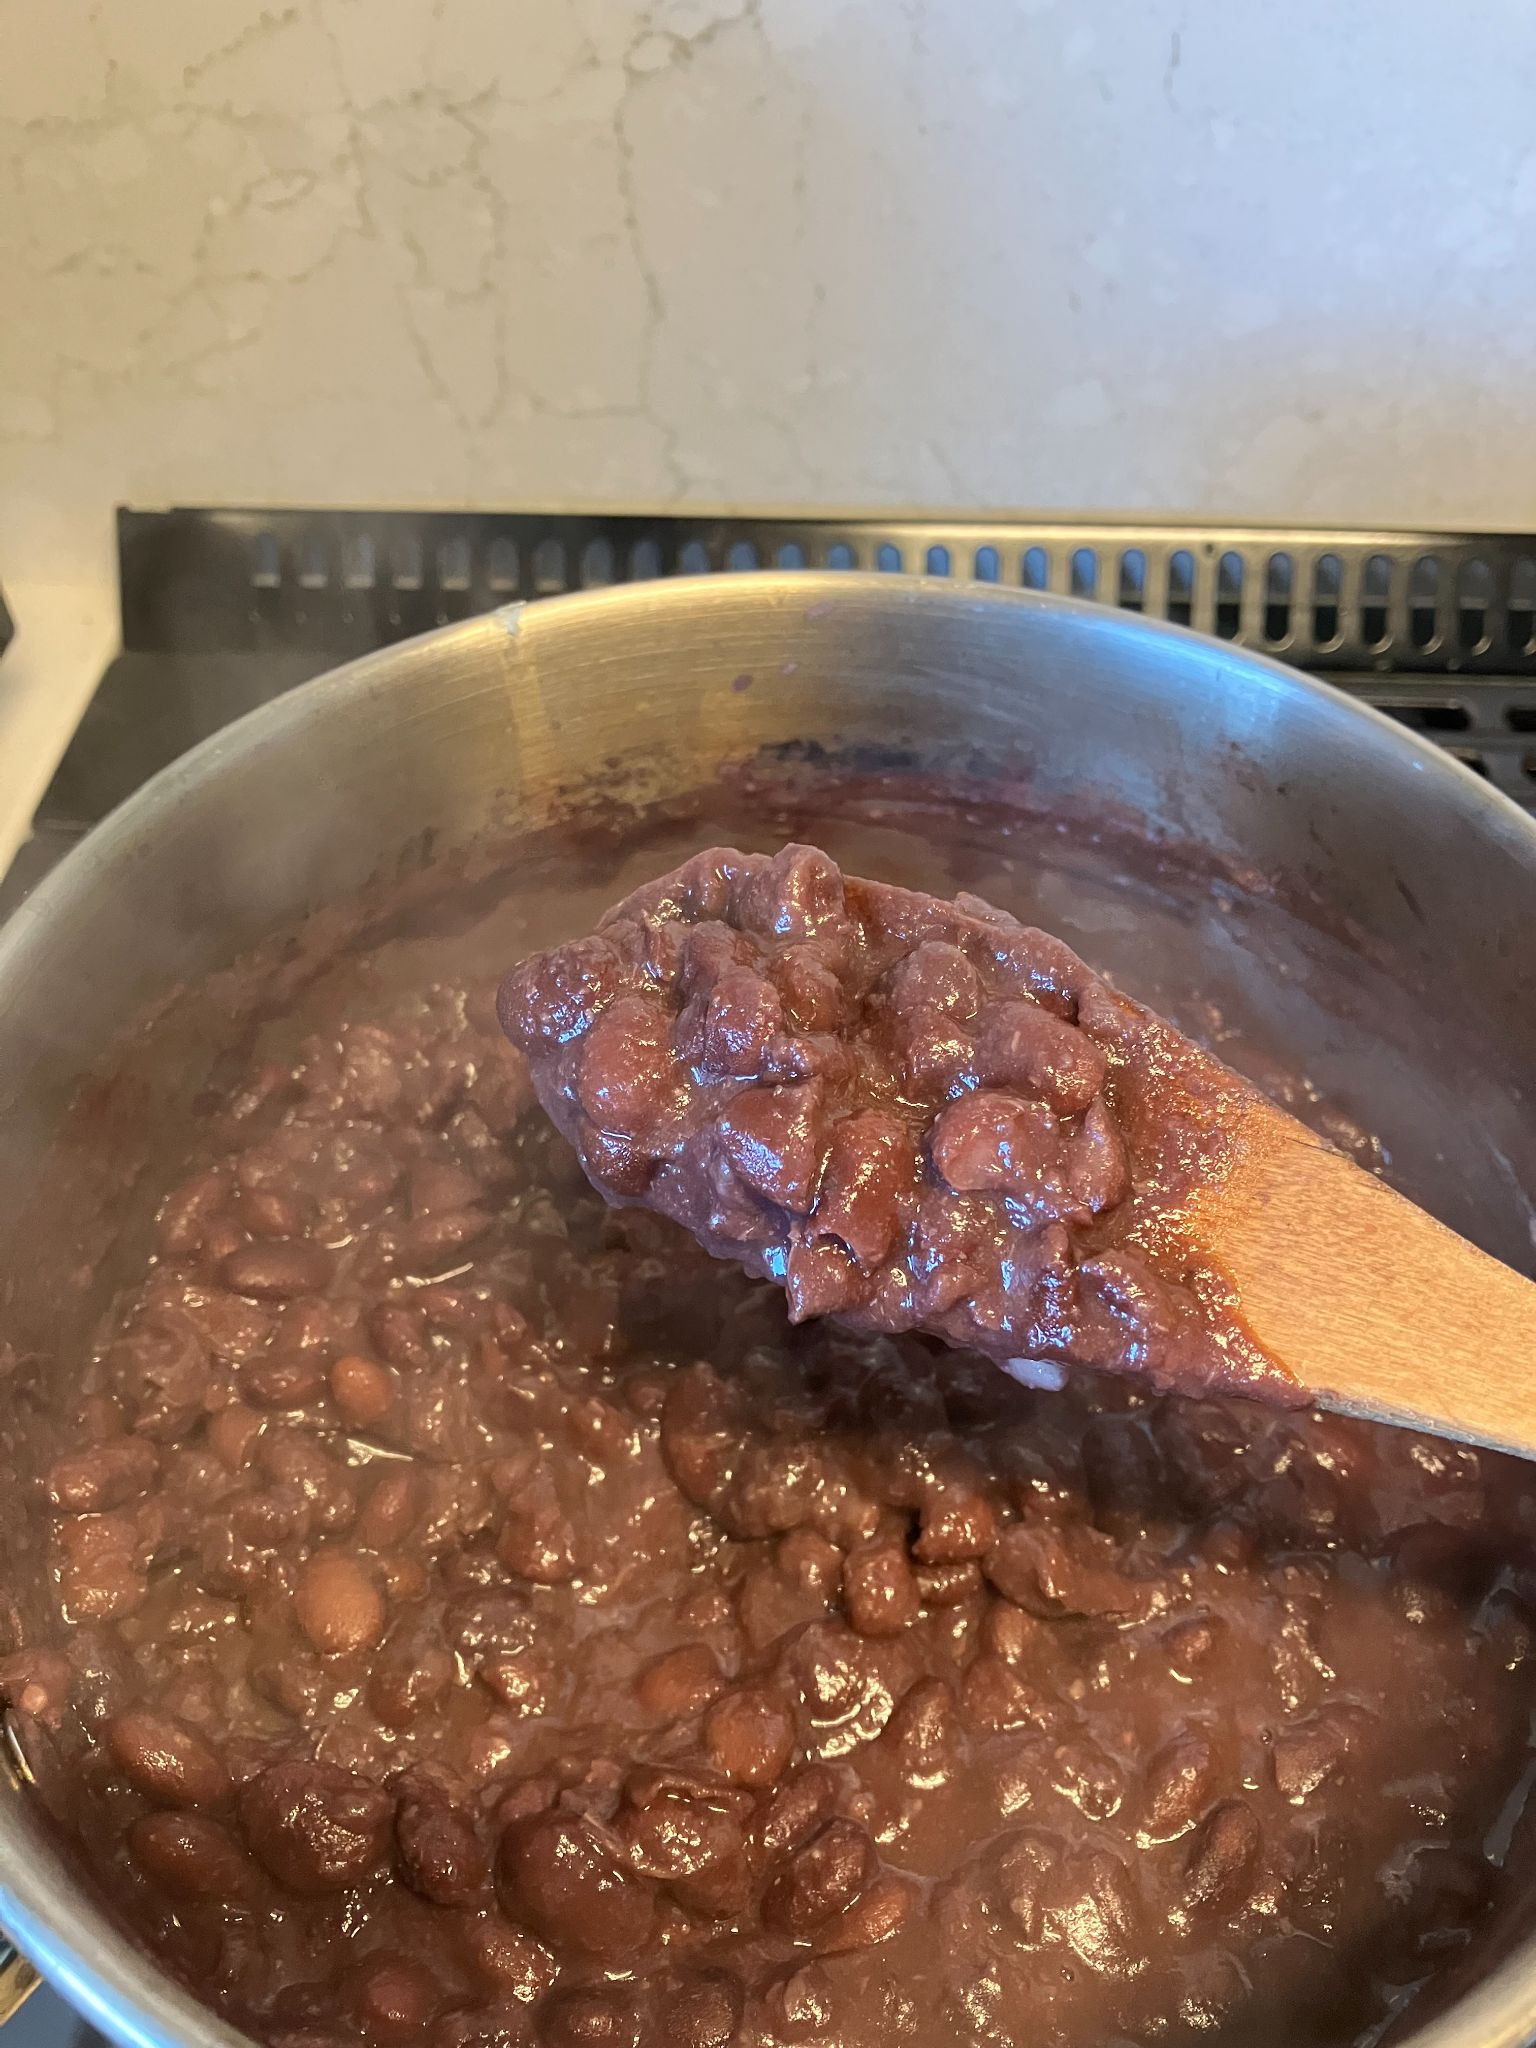
    If you’re looking for a simple, delicious, and nutritious recipe to add to your repertoire, this dish is a must-try! These black beans are perfect as a side dish, a filling for tacos or burritos, or a base for a hearty bowl. Packed with flavour and requiring minimal effort and ingredients, they’re as versatile as they are satisfying. Black beans are a fantastic source of plant-based protein, fibre, iron, and magnesium, making them a powerhouse addition to any diet. Plus, using dried beans is an economical choice that delivers superior taste and texture compared to canned options.
    Servings 4

    Ingredients

    • 1 cup dried black beans
    • 1 onion finely diced
    • 4 garlic cloves gently smashed
    • 2 dried avocado leaves or substitute bay leaves
    • juice from ½ lime
    • pepper and salt to taste

    Instructions

    • Soak the beans overnight. Rinse and drain.
    • In a large pot, combine the black beans, onion, garlic, and avocado leaves (or bay leaves). Cover with 3–4 inches of water.
    • Bring the mixture to a boil over high heat. Reduce the heat to low, stir the beans, and simmer, stirring occasionally, for about 1 ½ hours, until the beans are tender. Add more water as needed if the beans begin to look dry.
    • Remove the avocado or bay leaves. Increase the heat to medium and continue cooking until most of the water has evaporated, leaving the beans surrounded by a rich gravy.
    • Add the lime juice and season with pepper and salt if desired.

    Notes

    Avocado leaves, known as hojas de aguacate, can be purchased at a Mexican market. They add an authentic Mexican flavor to the dish but are not essential if you can’t find them.
    This recipe can also be made in an Instant Pot. For soaked beans, pressure cook for 4–6 minutes. For unsoaked beans, pressure cook for 20–25 minutes. After pressure cooking is complete, quick release the steam and then use the saute function to make the gravy.
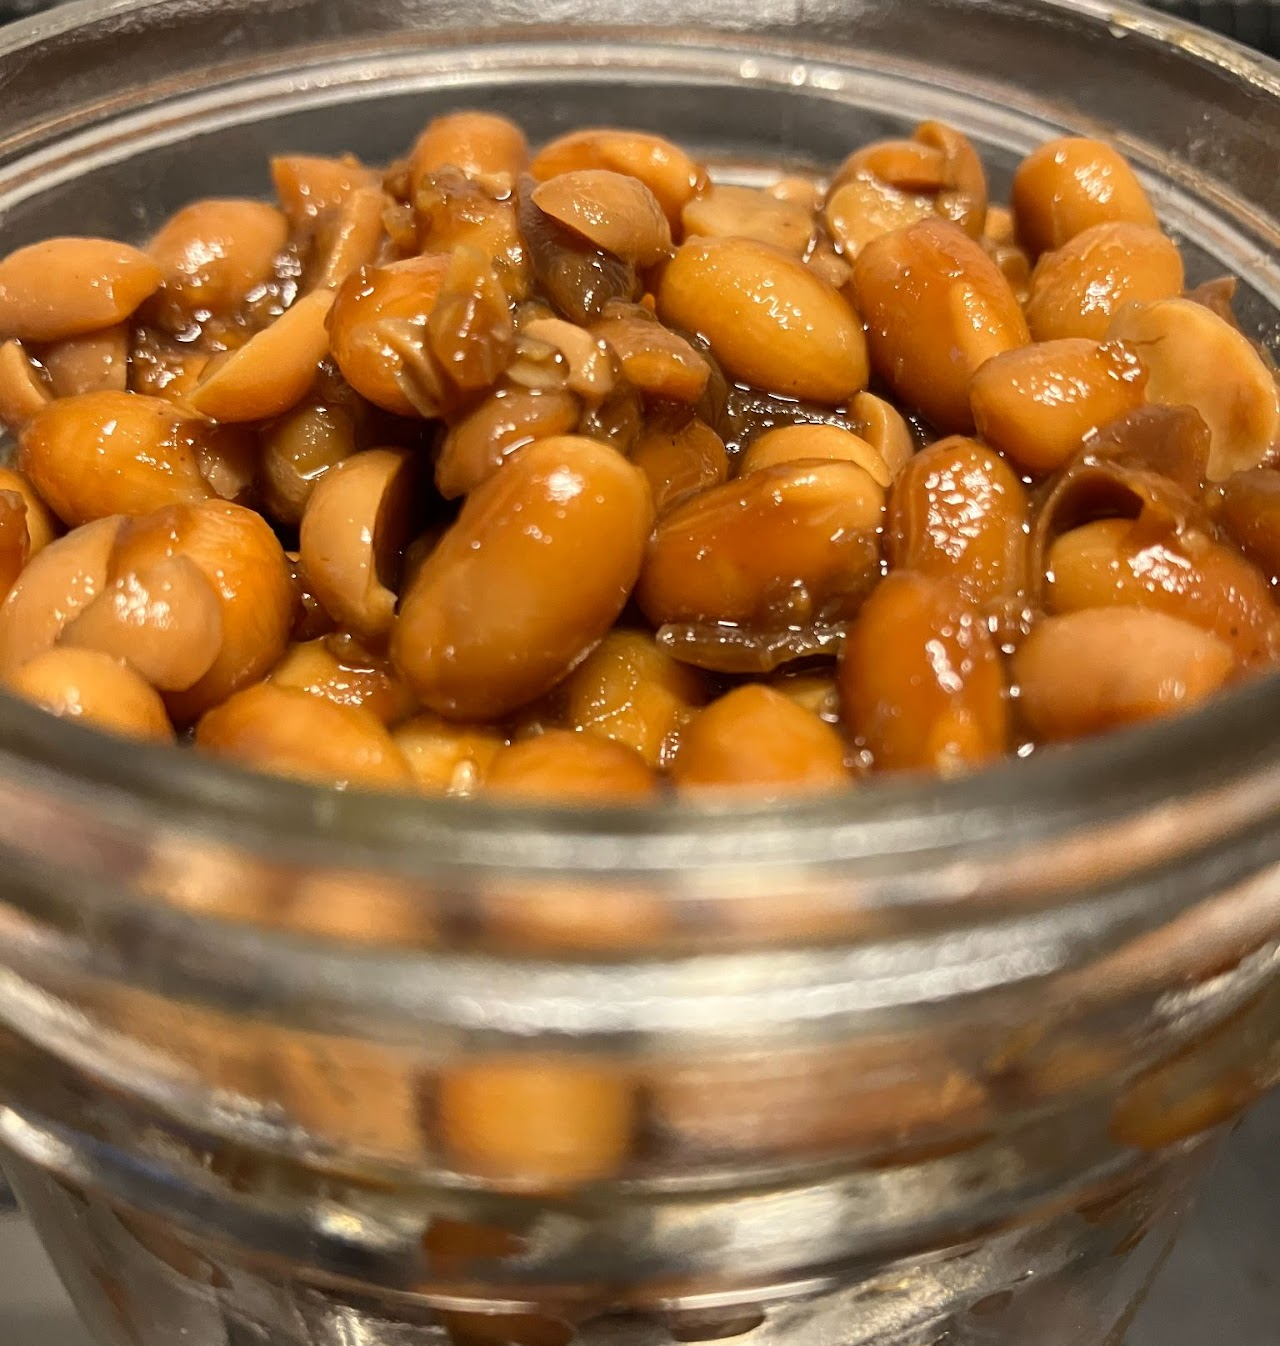
  • Tamari Soybeans

    Tamari Soybeans

    Tamari Soybeans

    This recipe is very loosely based on the Korean side dish, Kongjang. They have a great umami flavour and are an excellent addition to stir fries and salads. Dried soybeans can be hard to find but Bulk Barn usually carries them. Soybeans are a great source of high-quality protein and healthy fats as well as important vitamins and minerals. They can be helpful in reducing the severity and frequency of menopausal hot flashes.

    Ingredients

    • 1 cup soybeans soaked in water overnight, rinsed & drained
    • 1/2 cup tamari
    • 4 tablespoons applesauce
    • 4 garlic cloves minced

    Instructions

    • Place the drained soybeans in a medium saucepan and cover with 2-3 inches of fresh water. Bring to a boil.
    • Lower the heat and simmer, uncovered, for 30 minutes. Remove from heat and drain.
    • Return the soybeans to the pot and stir in the tamari, applesauce, and minced garlic.
    • Place the pot over medium heat and bring to a boil.
    • Lower the heat, cover, and cook for 30 minutes, stirring occasionally.
    • Uncover and continue simmering until the sauce thickens, about 5-10 minutes. The beans will remain slightly firm when cooking is complete.
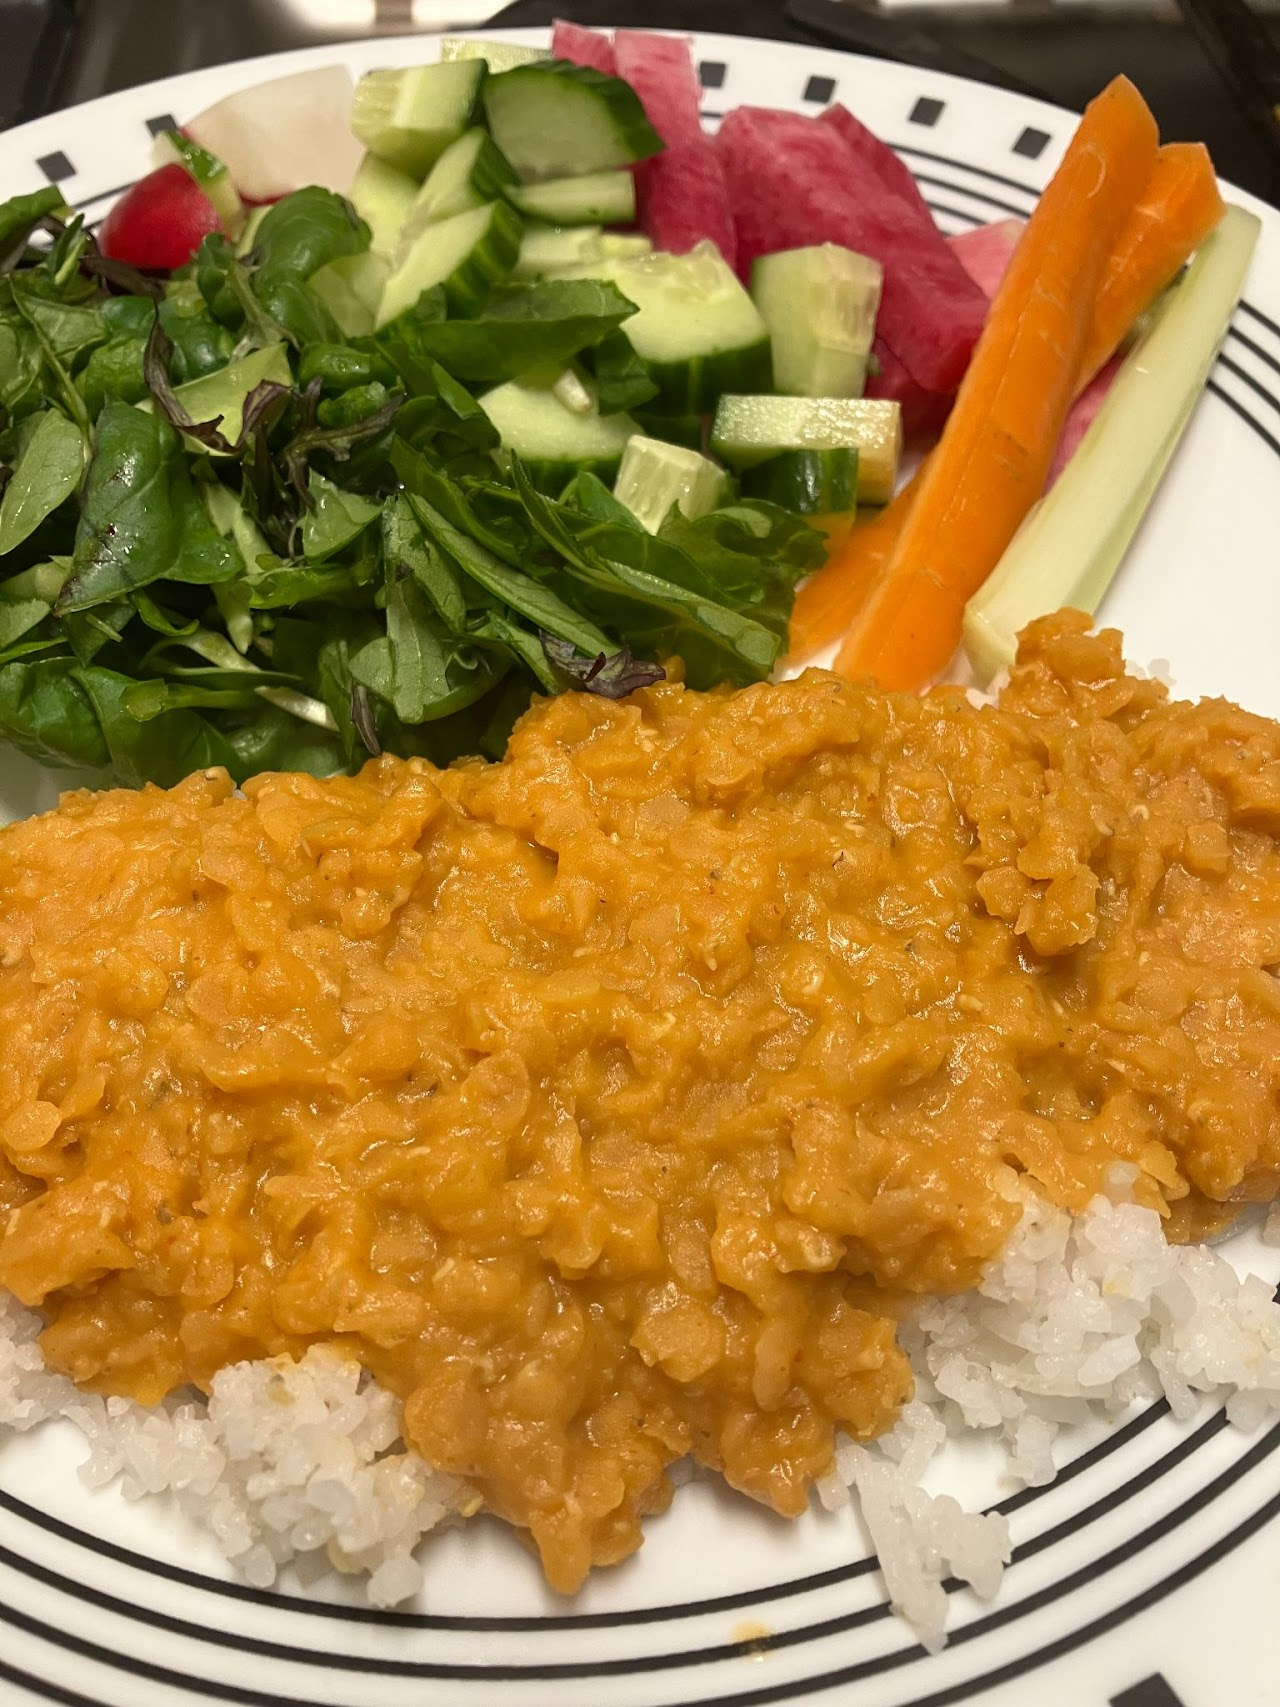
  • Thai Curried Lentils

    Thai Curried Lentils

    Thai Curried Lentils

    Ingredients

    • 2 cup dried red lentils
    • 1 can coconut milk
    • 2 tbsp red or green Thai curry paste
    • 2 cups water

    Instructions

    • In a large saucepan over high heat, combine all ingredients.
    • Stir and bring to a boil. Reduce heat to low, cover and cook for 20 minutes or until lentils are fully softened, adding extra water if needed.

    Notes

    Change up the flavour by switching up the red curry paste for green or yellow.
    Add more curry paste or hot sauce if you want more heat.